This website may contain affiliate links and advertising so that we can provide recipes to you. Read my disclosure policy.
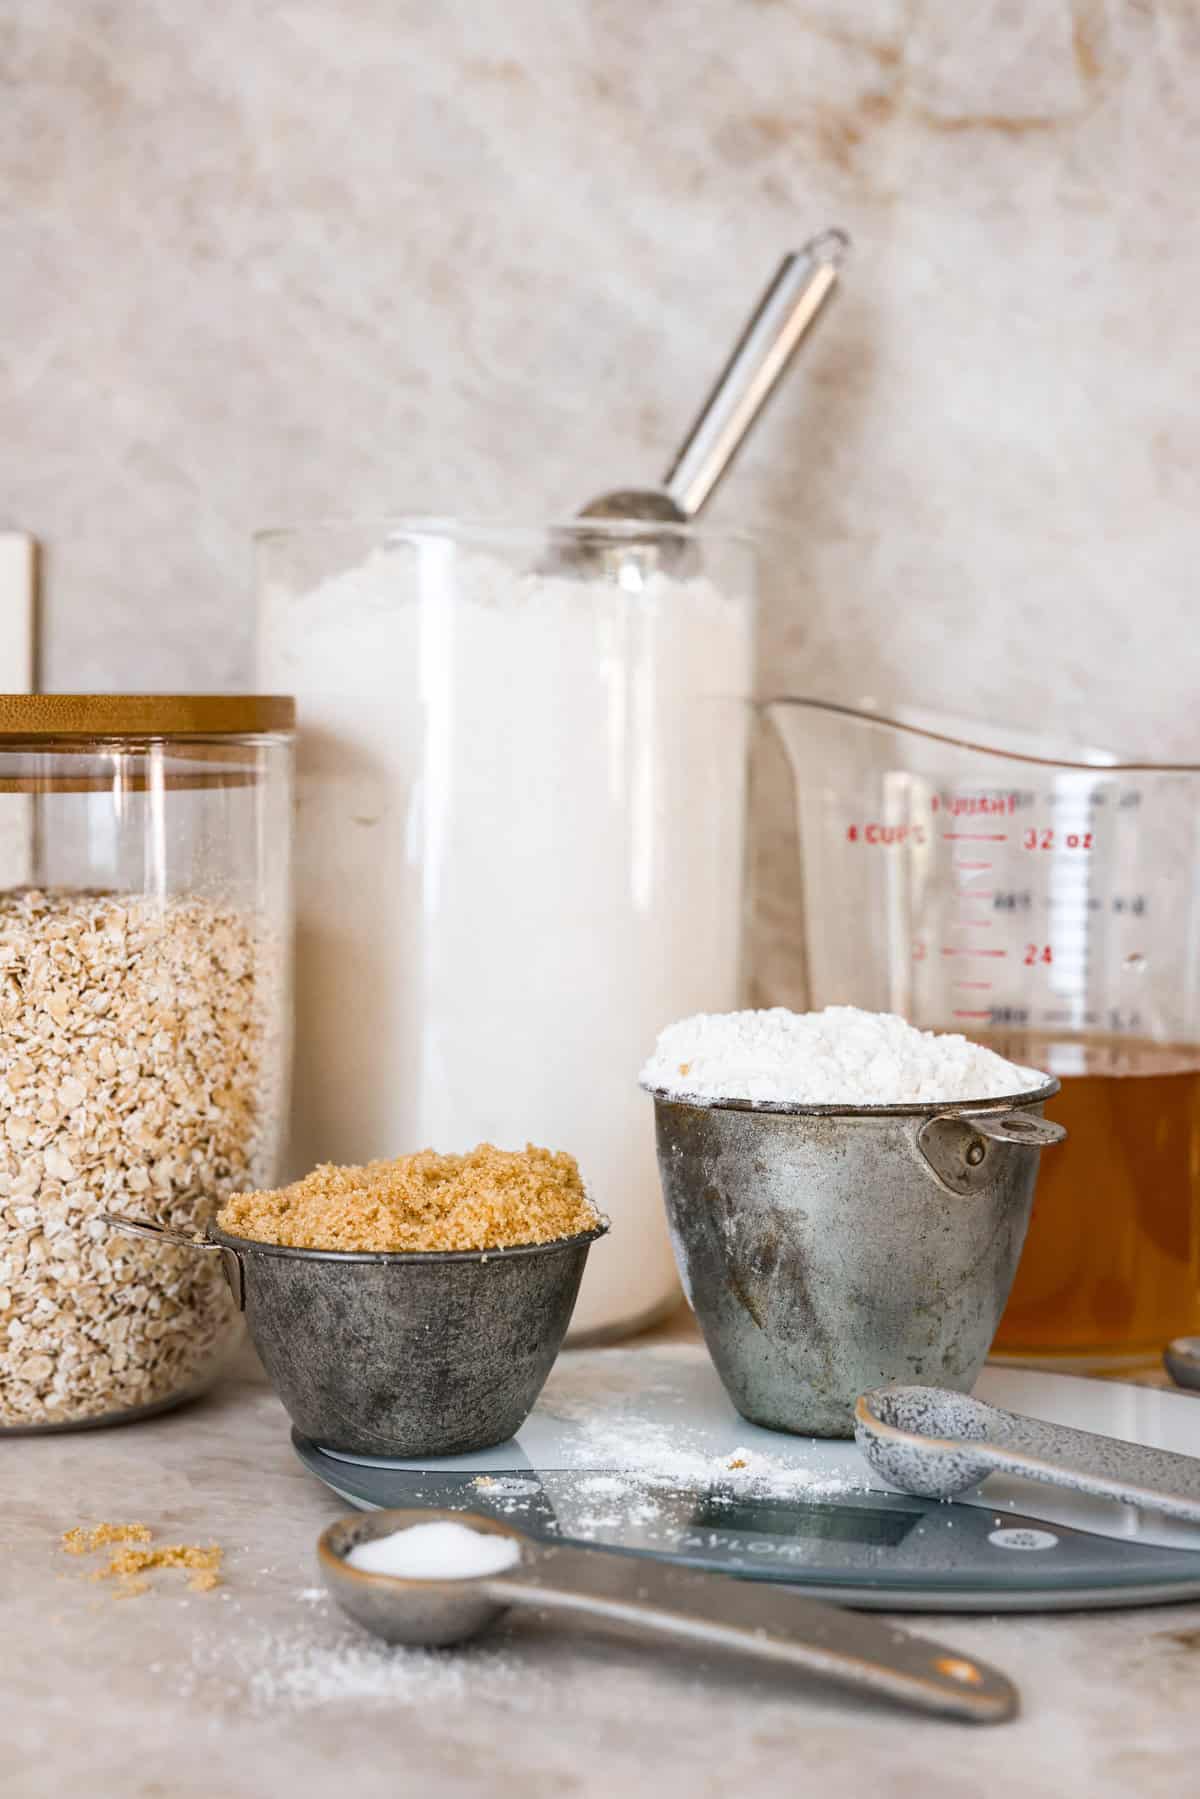
Whether you are a seasoned baker or just starting out, this informational post has all of my tips and tricks on how to properly measure baking ingredients.
Once you have these tips in hand, go ahead and try out my favorite chocolate chip cookie recipe! They are so delicious and you will bake them like a pro!
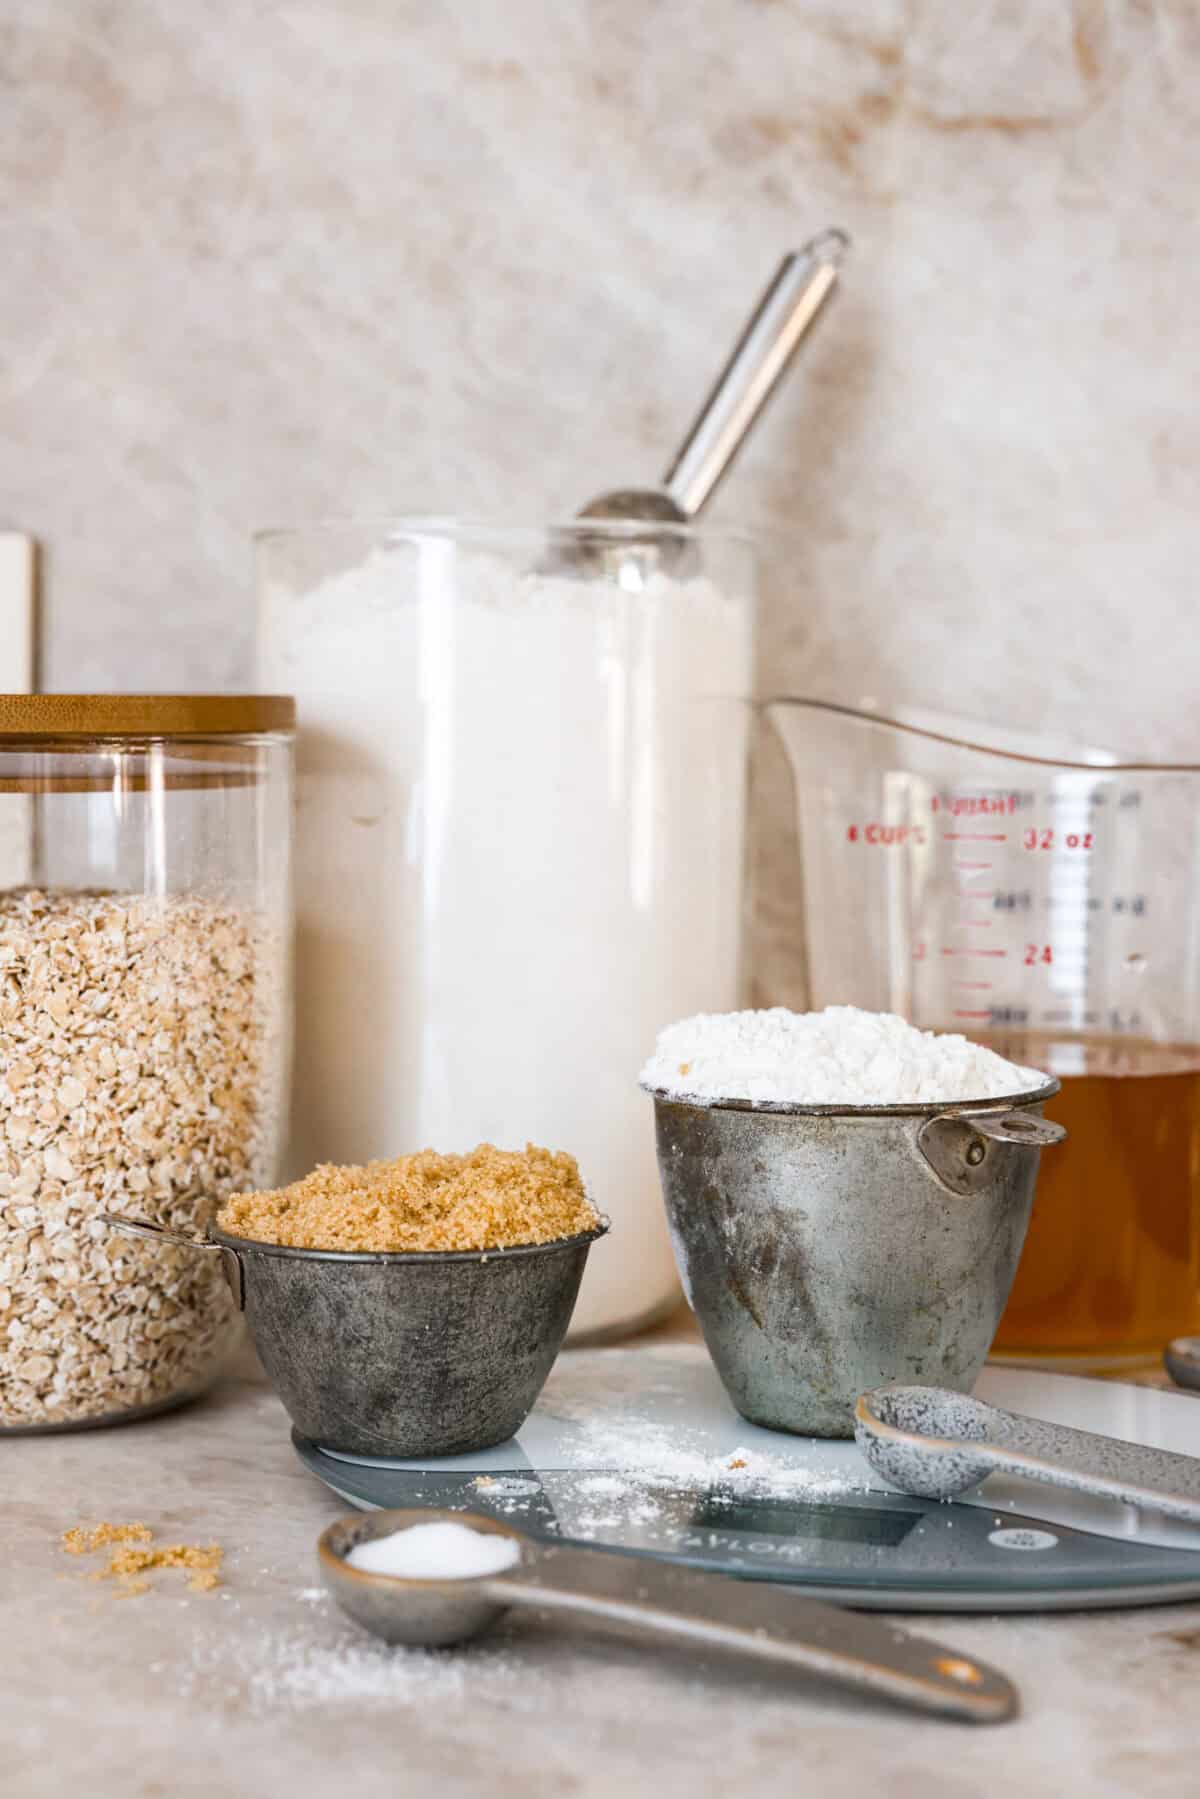
Why Measuring Baking Ingredients is SO Important
Baking is fun and delicious but it’s also a science! Following baking measurements correctly is important because of the chemistry involved. Any time that you do anything too quickly or don’t know how to measure certain ingredients properly, it can result in your recipe not turning out!
This post will help you understand exactly how to measure everything in your favorite baking recipes so that your recipes turn out perfect every time. I will walk you through the proper equipment, the ingredients to watch out for and all of the baking tips that I have learned through all of my years in the kitchen!
Measuring Equipment Needed for Baking
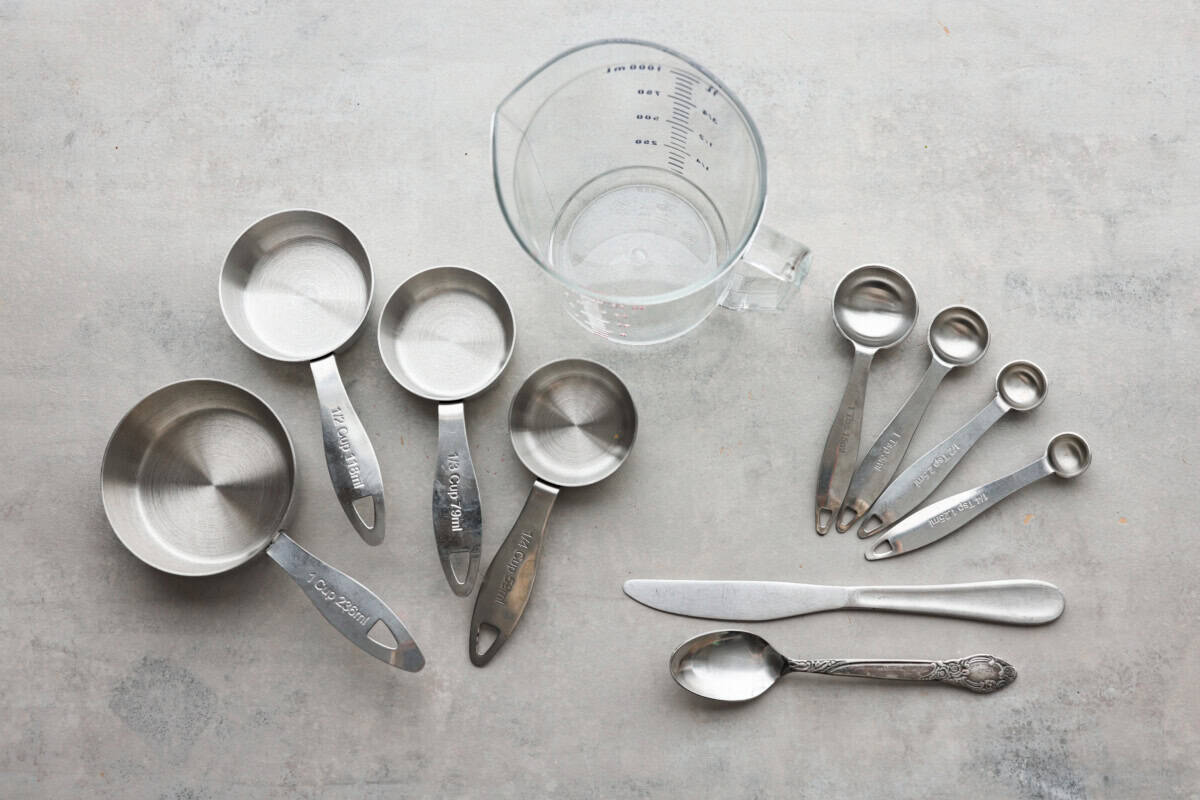
Before you start baking, you need to make sure that you have all of the right tools! You will use these tools to measure dry baking ingredients such as flour, baking powder, salt, granulated sugar, brown sugar, powdered sugar, oats, baking soda. Here are a few recommendations that I use in my kitchen every day:
- Measuring Cups: Most sets will come with everything that you need but make sure to always have 1 cup, 3/4 cup (this is not in every set but I like to have it since it’s a common measurement), 1/2 cup, 1/3 cup and 1/4 cup on hand.
- Measuring Spoons: You will always want 1 tablespoon, 1/2 Tablespoon, 1 teaspoon, 1/2 teaspoon, and 1/4 teaspoon measuring spoons in your kitchen.
- Scale: This is not necessary (and I teach you below how to measure things WITHOUT a scale) but this can be a great tool to use either as a beginner baker who is more comfortable knowing exact measurements or an experienced baker with more complicated recipes.
- Liquid Measuring Cup: I recommend getting a glass measuring cup because it is microwavable.
- Straight Edge Knife: I use this for scraping the flour.
- Spoon: Any spoon will work, I use it for fluffing and filling the flour.
Baking Terms
Scant: A scant measurement means the measuring cup should be just shy of completely full.
Heaping: A heaping measurement means the measuring cup should be slightly rounded at the top, which adds just a tiny bit more than the measuring cup calls for.
Pinch: This measurement is the amount of ingredient that you can pick up between your thumb and your index finger. It’s commonly measured to be 1/8-1/16 teaspoon.
How to Measure Flour without a Scale
Measuring baking ingredients is easily done without a scale in case you don’t have one at home, here is the technique to use:
- Get the Right Tools: Gather the measuring cup, spoon, and knife.
- Use a Spoon: DO NOT use the measuring cup to directly scoop the flour from the flour bin.
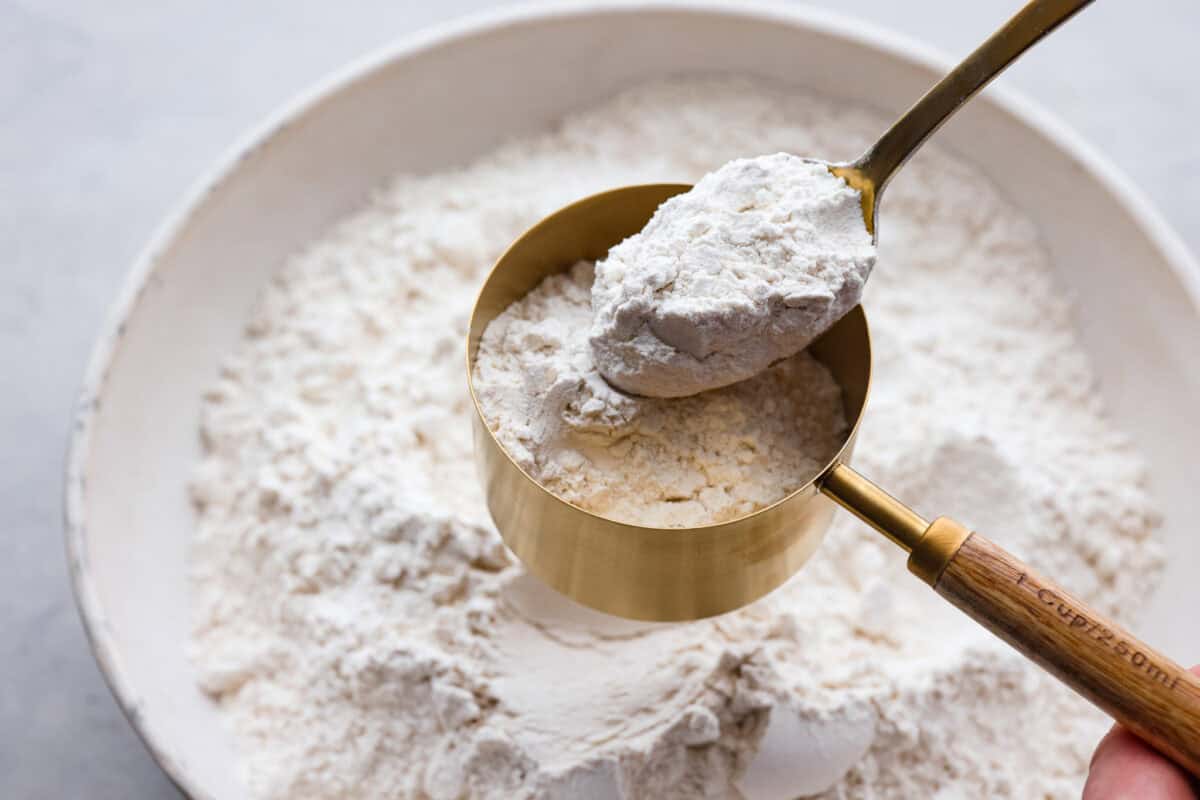
- Fluff and Spoon: Fluff the flour using a spoon and then spoon scoops of the flour into the measuring cup and fill the measuring cup so there is a mound on top.
- Scrape: Use the straight edge of a knife to scrape across the top of the measuring cup to remove any excess flour.
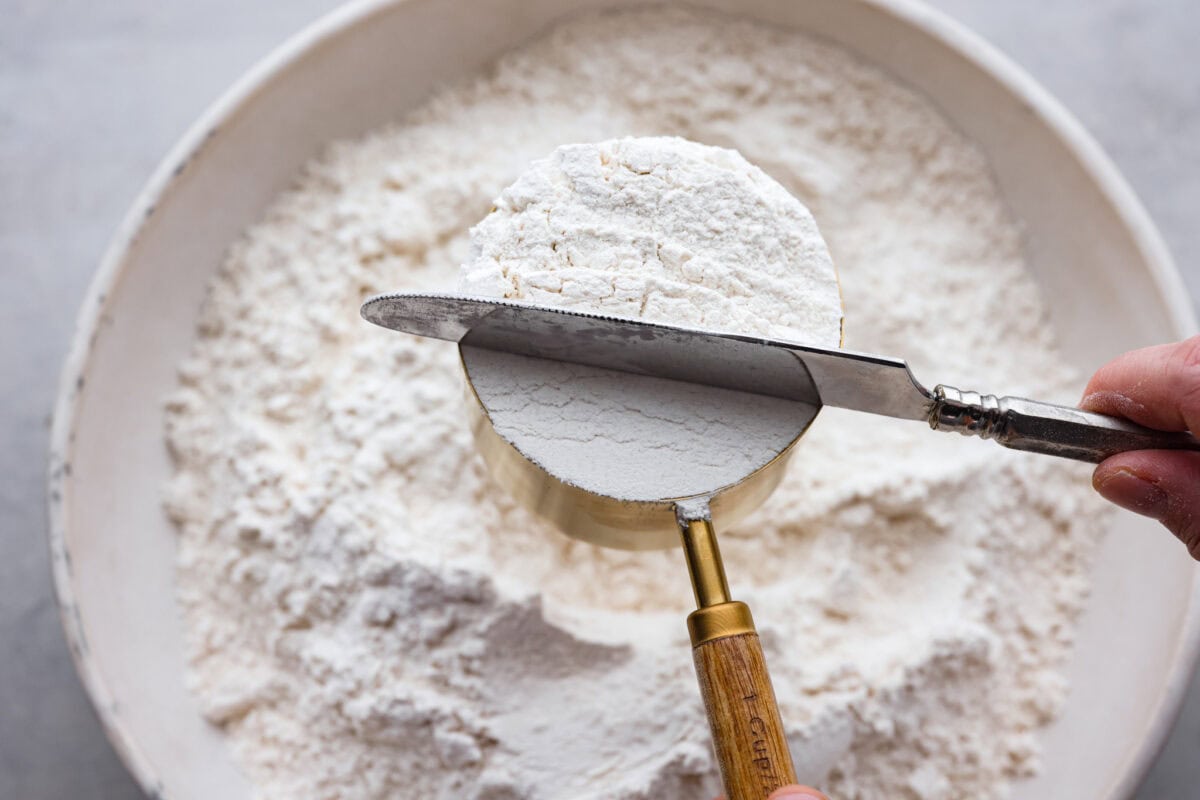
any excess flour.
How to Measure Flour with a Scale
To be more precise with measuring your baking ingredients, use a food scale!
- Tare the Scale: Before you begin measuring your baking ingredients, you must tare your scale, or essentially reset it and “zeroing” the scale. It’s typically performed when there’s nothing placed on the scale. However, for accuracy, I recommend that you tare the scale after placing an empty bowl or measuring cup on it. This ensures that the weight of the container isn’t included in your final measurement.
- Spoon and Scrape the Flour: Spoon scoops of the flour into the measuring cup and fill the measuring cup so there is a mound on top then scrape off the excess with a knife.
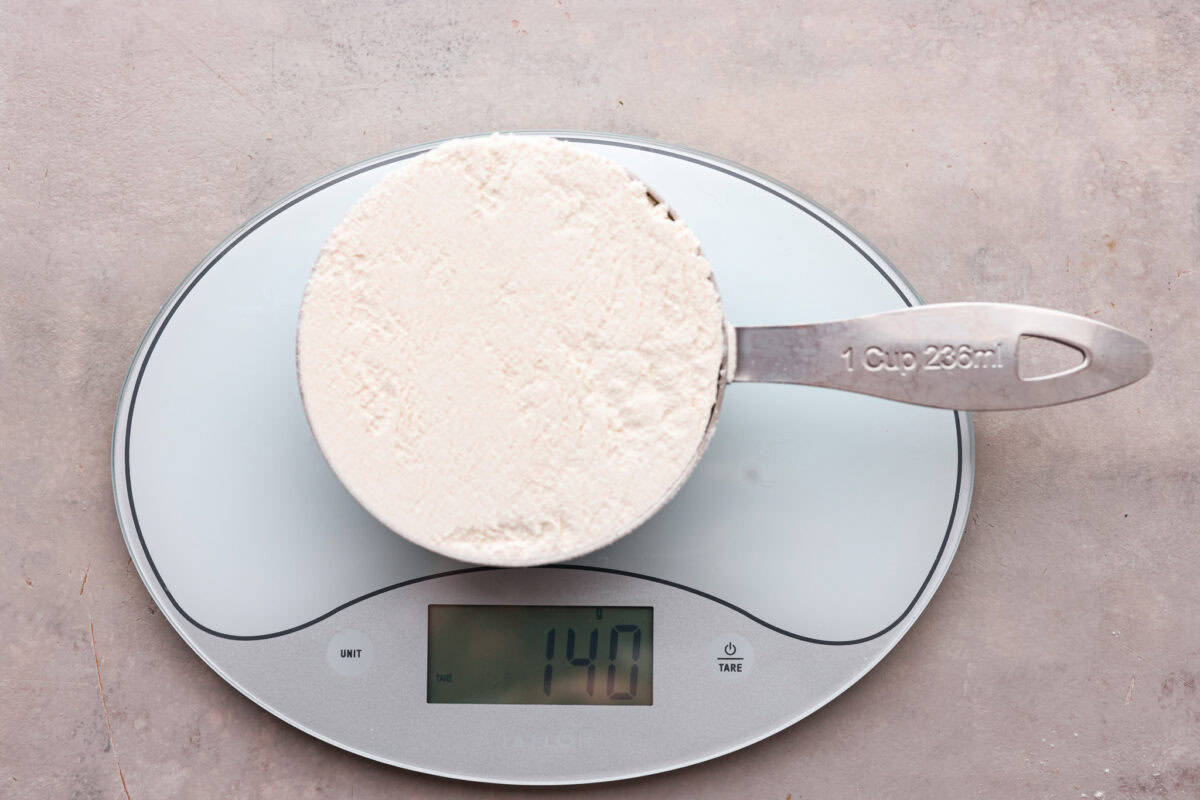
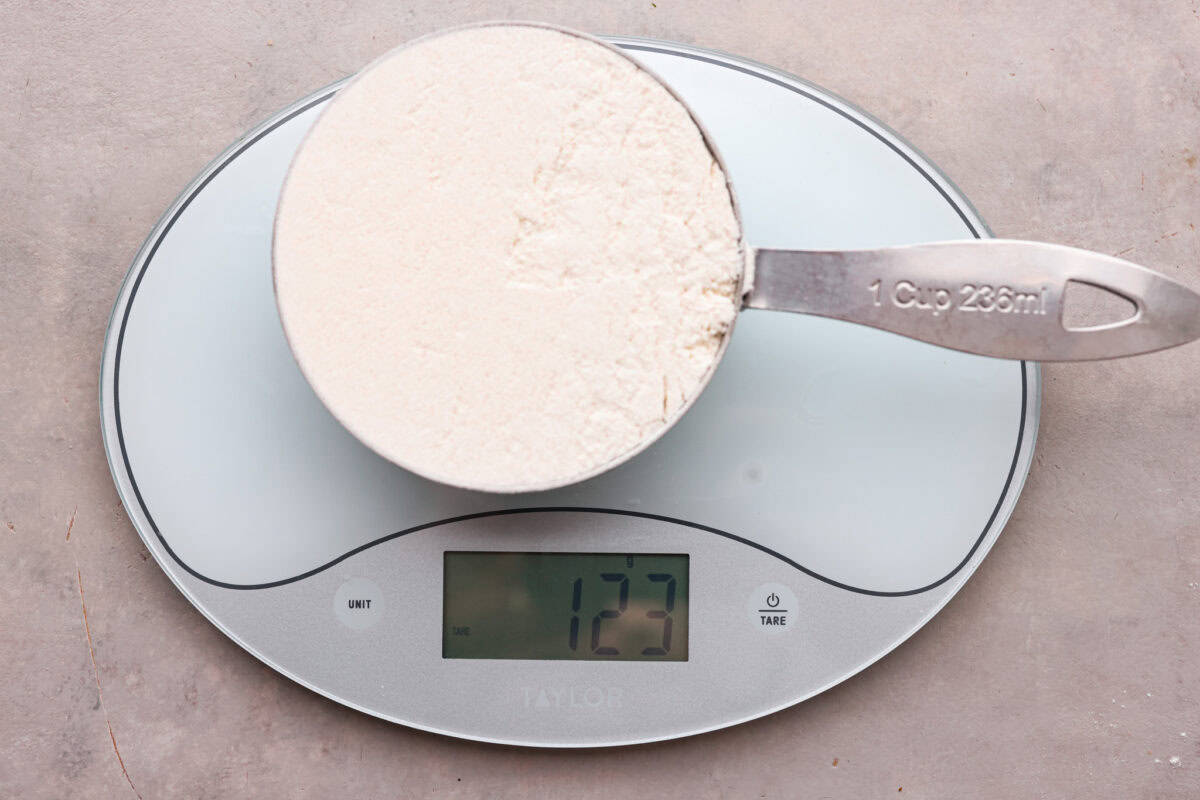
- Weight: Using your scale, weigh the measured 1 cup of all-purpose flour. Using this method the flour should weigh between 120 and 125 grams.
Volume vs Weight
Volume measurement involves using either dry or liquid measuring cups. When done correctly with the appropriate cup, it’s a reliable method for measuring baking ingredients. However, the most accurate way to measure ingredients is by weight. Using a kitchen scale to measure in grams provides precise measurements.
Does How I Measure Flour Really Matter?
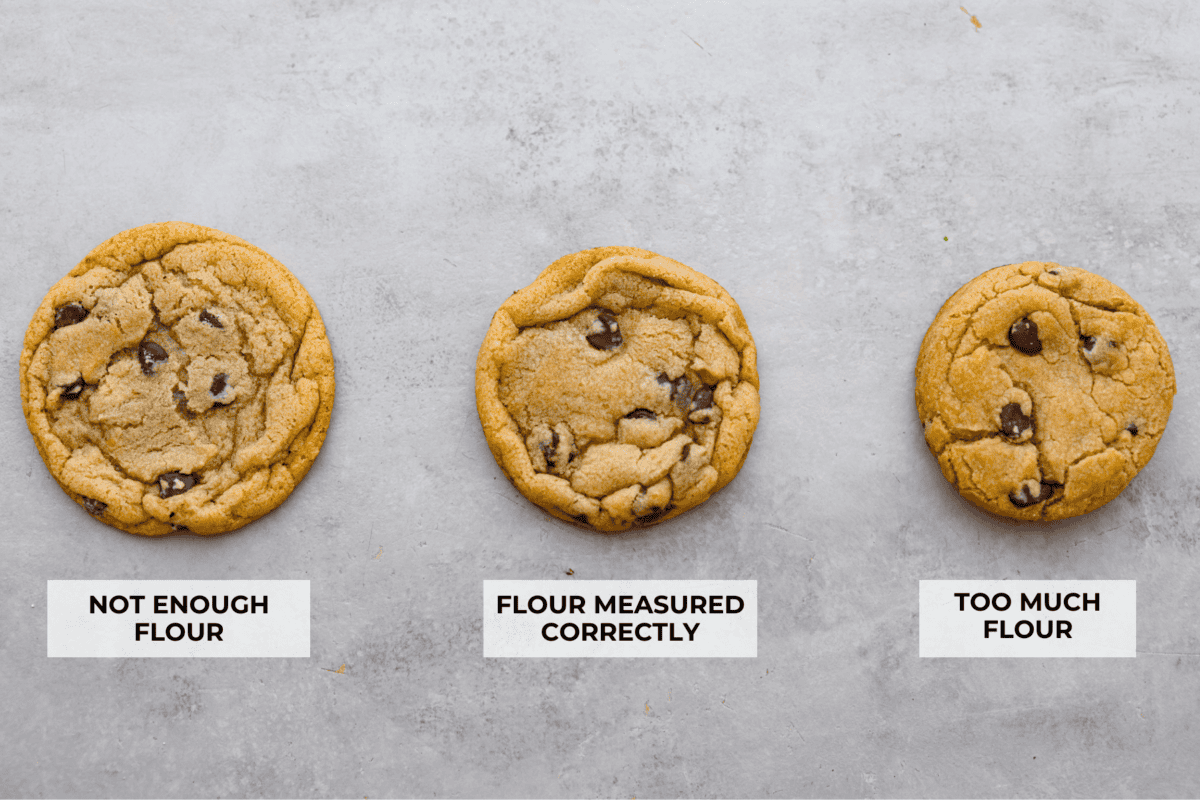
Yes! How you measure out your ingredients will have a direct impact on how your recipe turns out. Typically the ratio of sugar to flour in cookies is about 1:2, so for every 1 cup of sugar you should have 2 cups of flour. This will vary slightly depending on the texture of cookie you prefer as well as your climate. Drier climates require a little less flour, where as humid climates will require a little more.
- Measuring and adding too much flour: Cookie dough with too much flour will be crumbly and dry. If you press it together, it will break apart into pieces. The cookies will bake up with too little spread and be quite dense.
- Not adding in enough flour: If you ever wonder why your cookies turn out flat, this is your problem! Cookie dough with too little flour will be sticky and very soft. It won’t hold the indent of a fingerprint because it will be too sticky. The cookies will spread too much and end up flat.
- Flour measured correctly: Cookie dough with just the right amount of flour will be about the texture of play dough, with just a little bit of stickiness. The cookies will end up with just the right amount of spread and chewiness.
How to Pack and Measure Brown Sugar
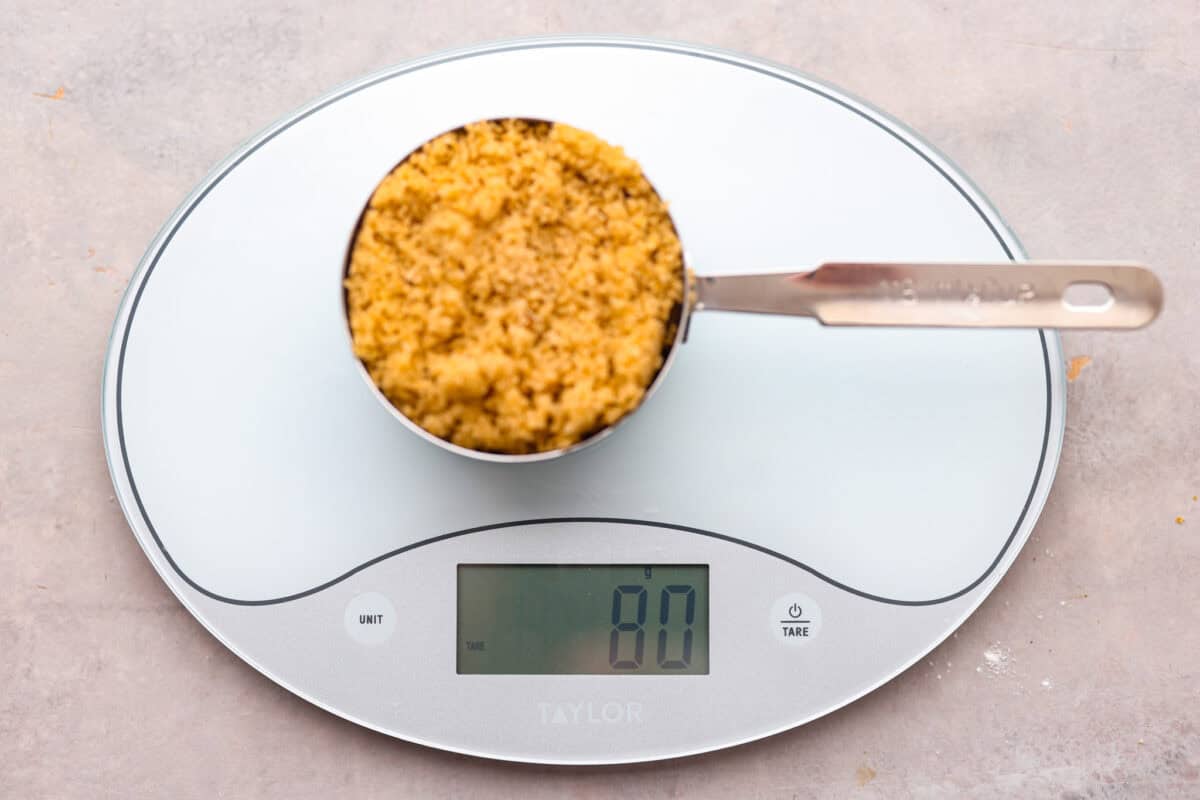
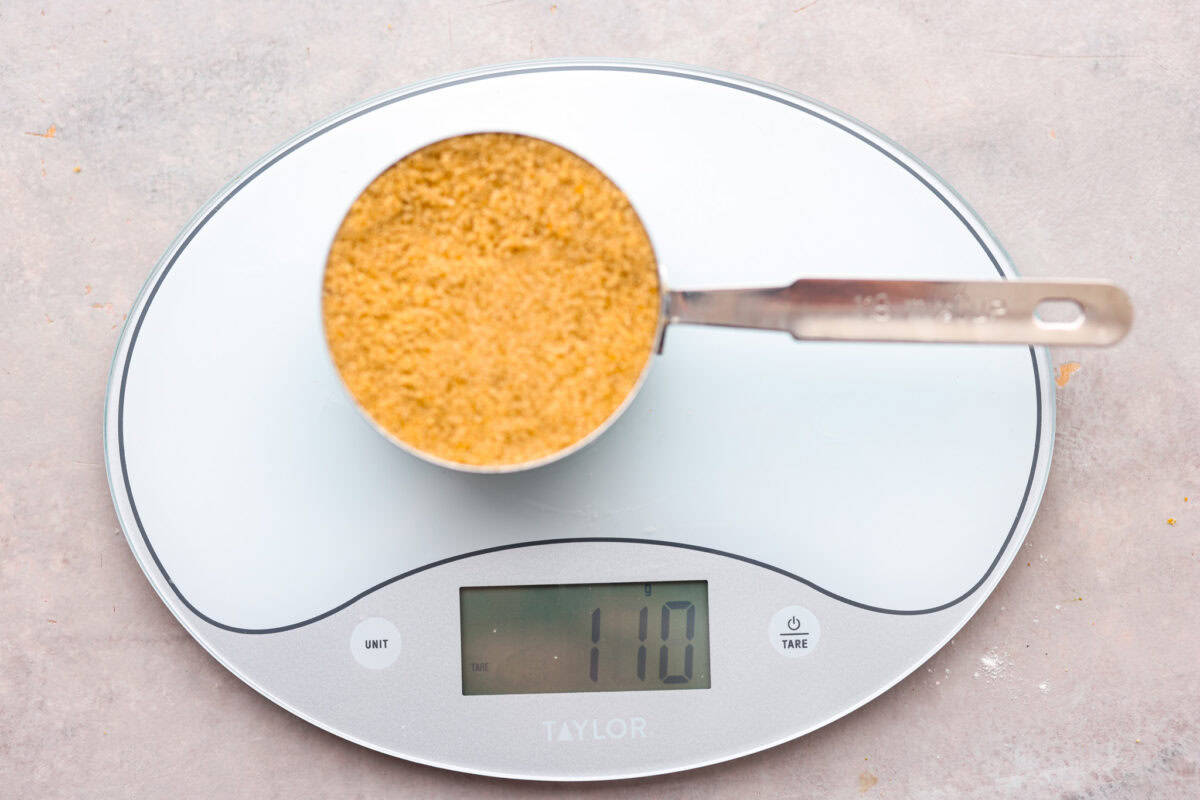
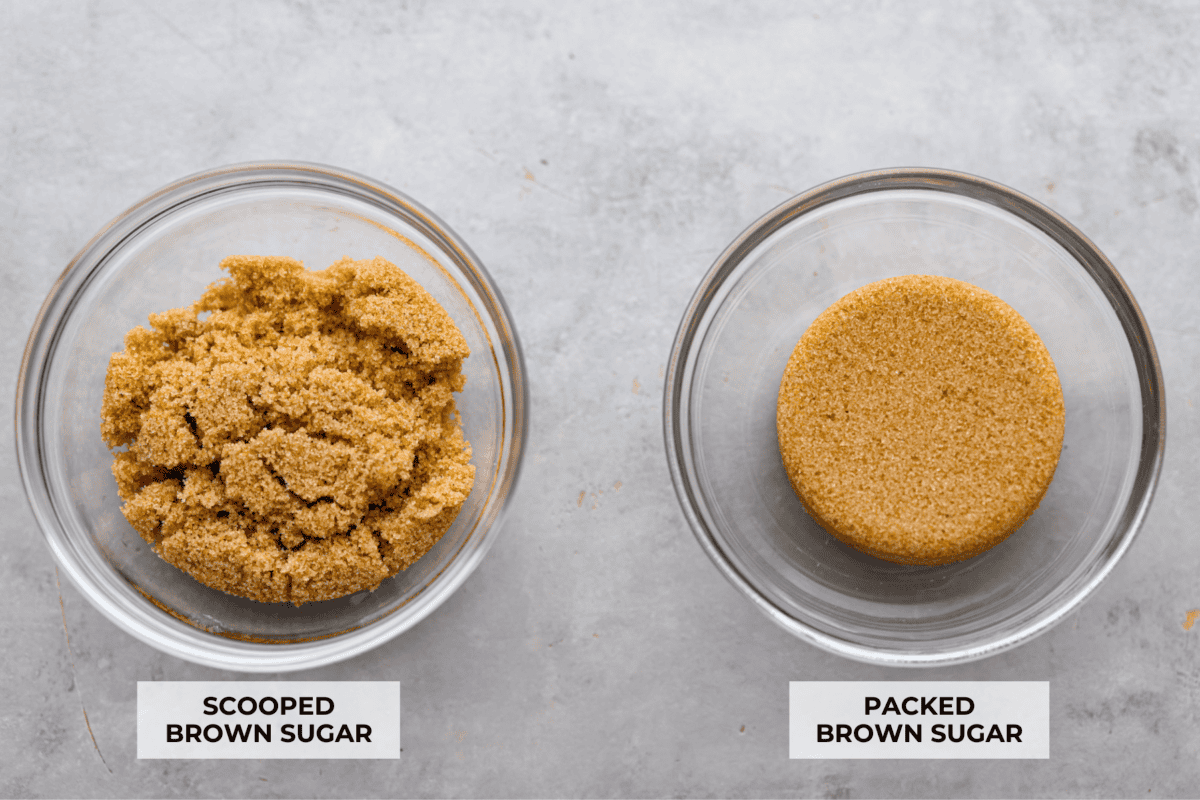
When specified in a recipe, brown sugar should be packed tightly into the measuring cup. Use a spoon to scoop the brown sugar into the cup and then press the spoon down against it until it is tightly compacted down. Spoon more sugar into the measuring cup and press it down until it is level with the top of the measuring cup.
Packed Brown Sugar Tip
Properly packed brown sugar will maintain the shape of the measuring cup after it is poured out. Loosely packed brown sugar will fall out into a loose pile.
How to Measure Liquid Ingredients
Measuring baking ingredients can sometimes mean liquids! Liquid ingredients should always be measured using liquid measuring cups. Although the volume of a dry measuring cup technically matches that of a liquid measuring cup, it’s not accurate to fill a dry cup with liquid like you would a liquid measuring cup.
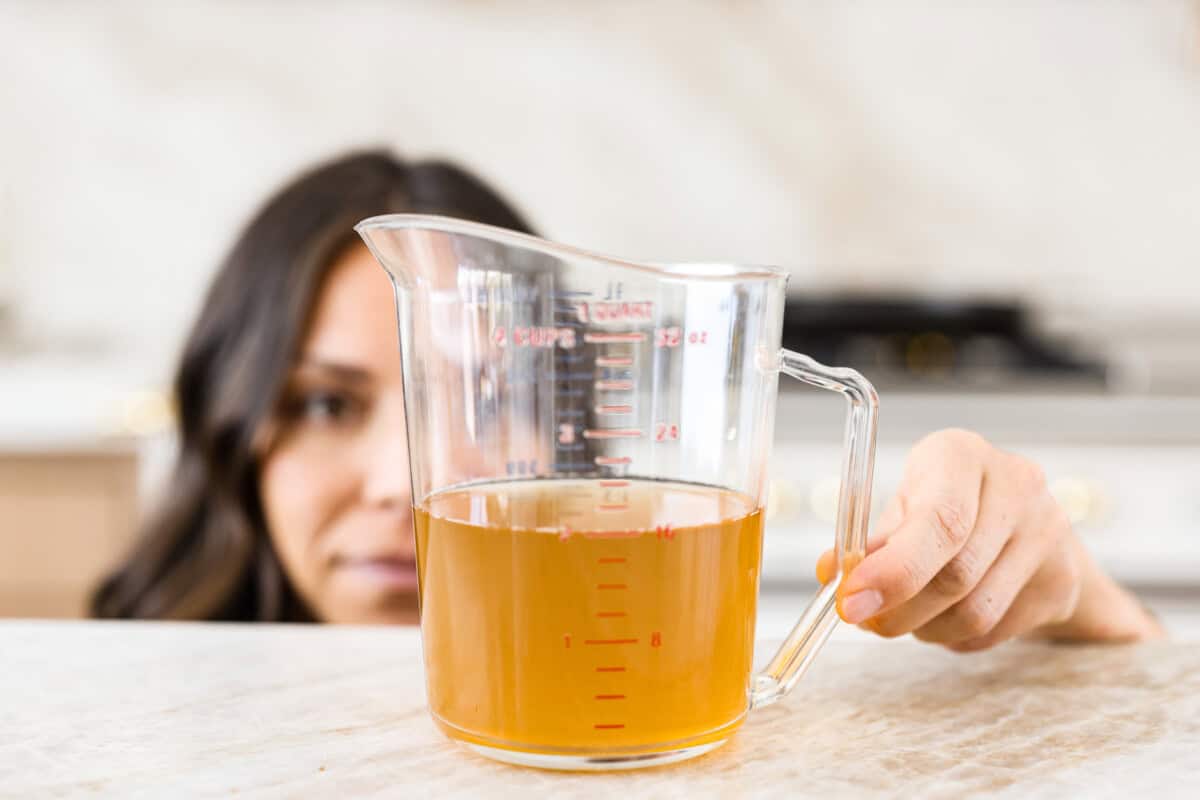
Opting for a dry measuring cup with liquid ingredients will result in slightly less than the recipe requires. While this might not be a major concern in cooking, it can greatly affect baking outcomes. Even a small difference in measurement can disrupt the chemistry of a baking recipe. When you are measuring liquid, get down to eye level of the measuring cup and make sure that your liquid is even with the marked measurement line.
Measuring Sticky Ingredients
When you are measuring baking ingredients such as peanut butter, honey, syrup or molasses, spray the measuring cup with some baking spray so that the ingredient doesn’t stick and you won’t leave any behind in the cup.
Common Measuring Mistakes
- Using the Wrong Measuring Cup: For baking it’s super important to be accurate so the chemistry of the recipe isn’t altered. Always use liquid measuring cups for liquid ingredients and dry measuring cups for dry ingredients.
- Don’t Ignore the Details in a Recipe: Follow the specific measuring instructions in your recipe! If a recipe calls for a heaping cup of flour, don’t level it off with a knife. Make sure it’s heaped slightly over the top edge of the measuring cup. If the recipe calls for packed brown sugar, really pack the brown sugar in there! These tips are there for a reason and sometimes they can make or break the recipe.
- Substituting Ingredients: If you are substituting an ingredient in a baking recipe, make sure it’s something you know will work. For example, most gluten free flour will not work the same way as all-purpose flour in a recipe. Unless the GF flour is a specific blend with a binder to replace the function of gluten, you will likely end up with a crumbly mess with no structure.
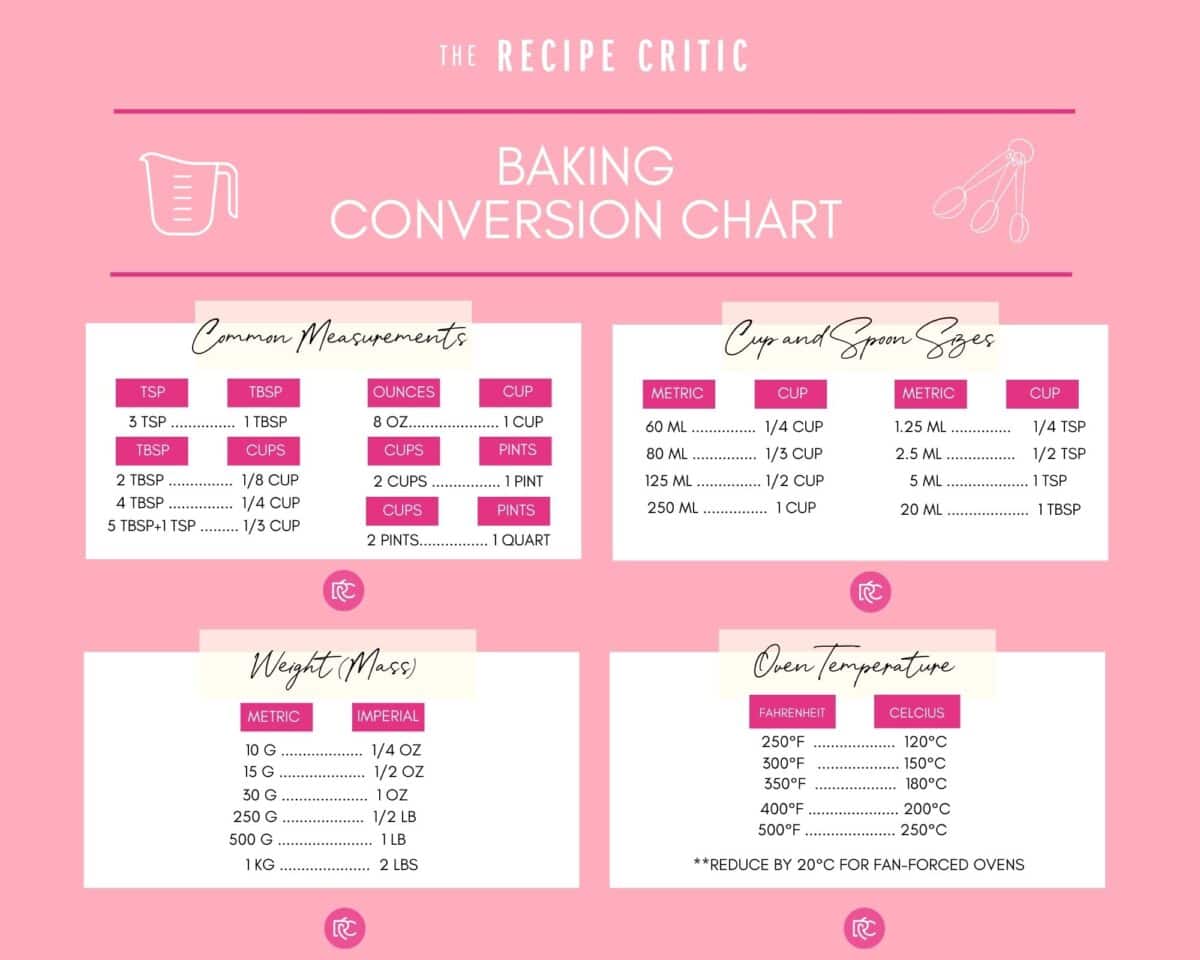
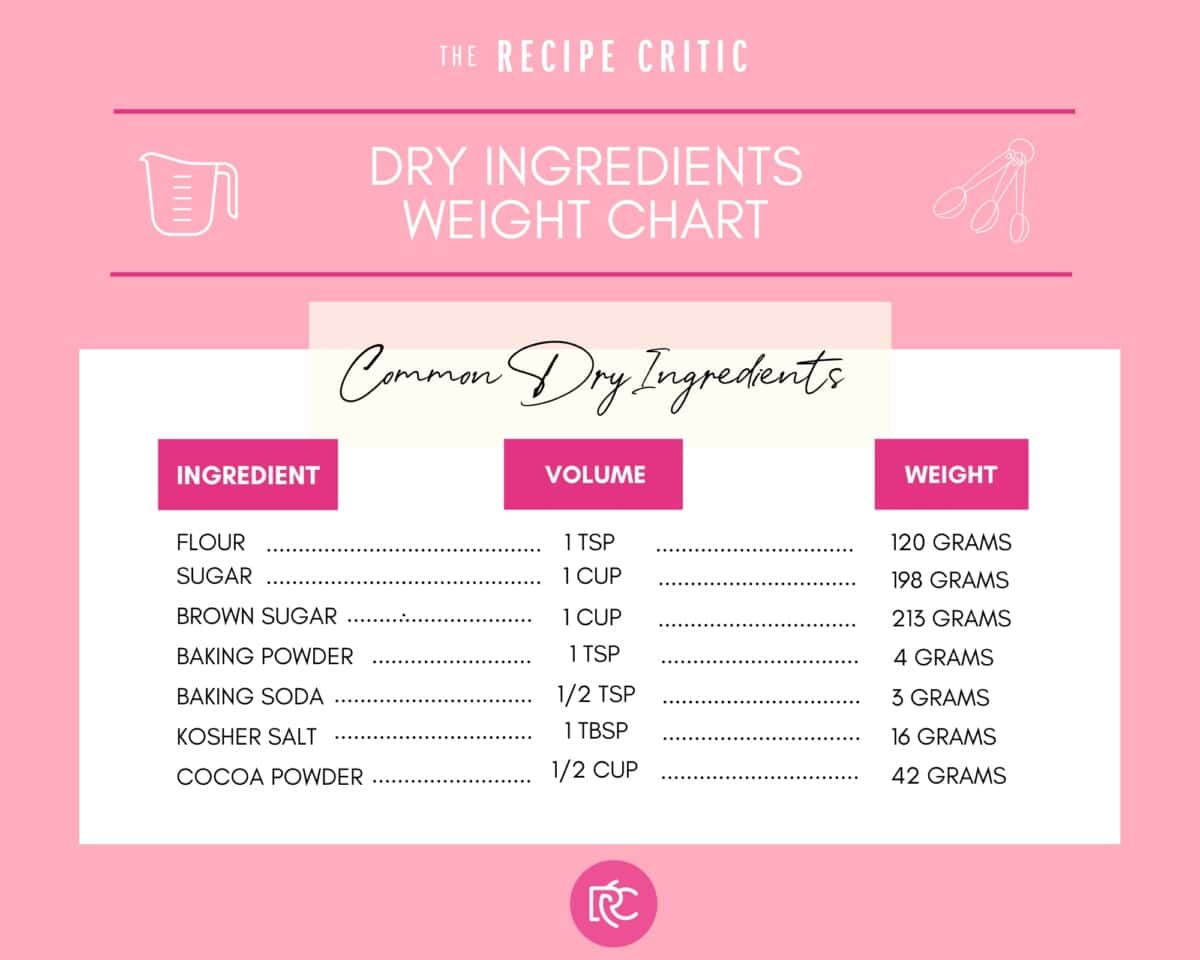
Baking Conversion Chart
I always like to have measurement conversions available at a quick glance! Whether you are measuring out ingredients or you need to know a conversion of oven temperatures, I’ve got you covered with this chart!
