This website may contain affiliate links and advertising so that we can provide recipes to you. Read my disclosure policy.
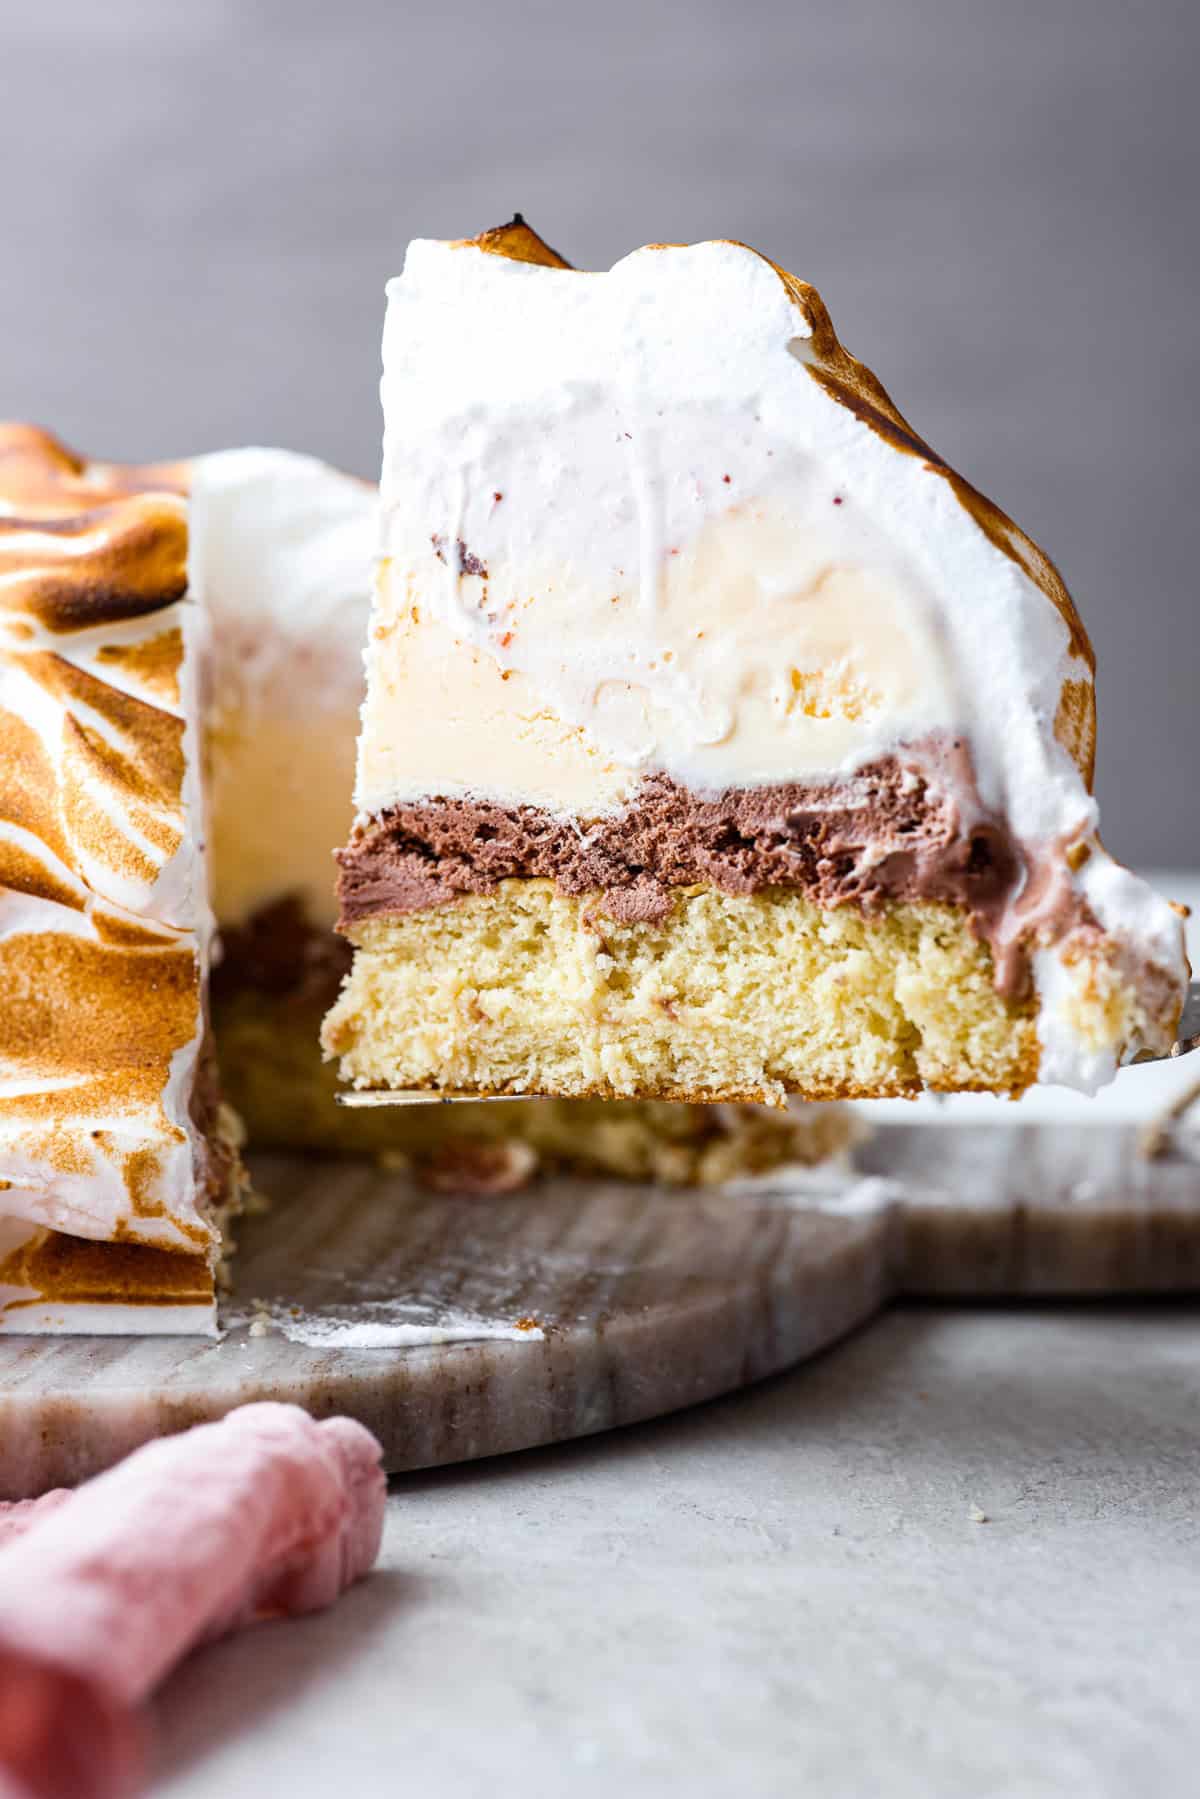
Impress everyone with this gorgeous Baked Alaska dessert! It’s surprisingly easy to make with just 5 ingredients. Layers of cake, ice cream and meringue will have your friends and family begging for a slice!
You can’t go wrong with an ice cream dessert, especially during the summer! If you’re looking for cold and creamy treats that will cool you off, try my cookies and cream ice cream cake or this homemade ice cream sandwich!
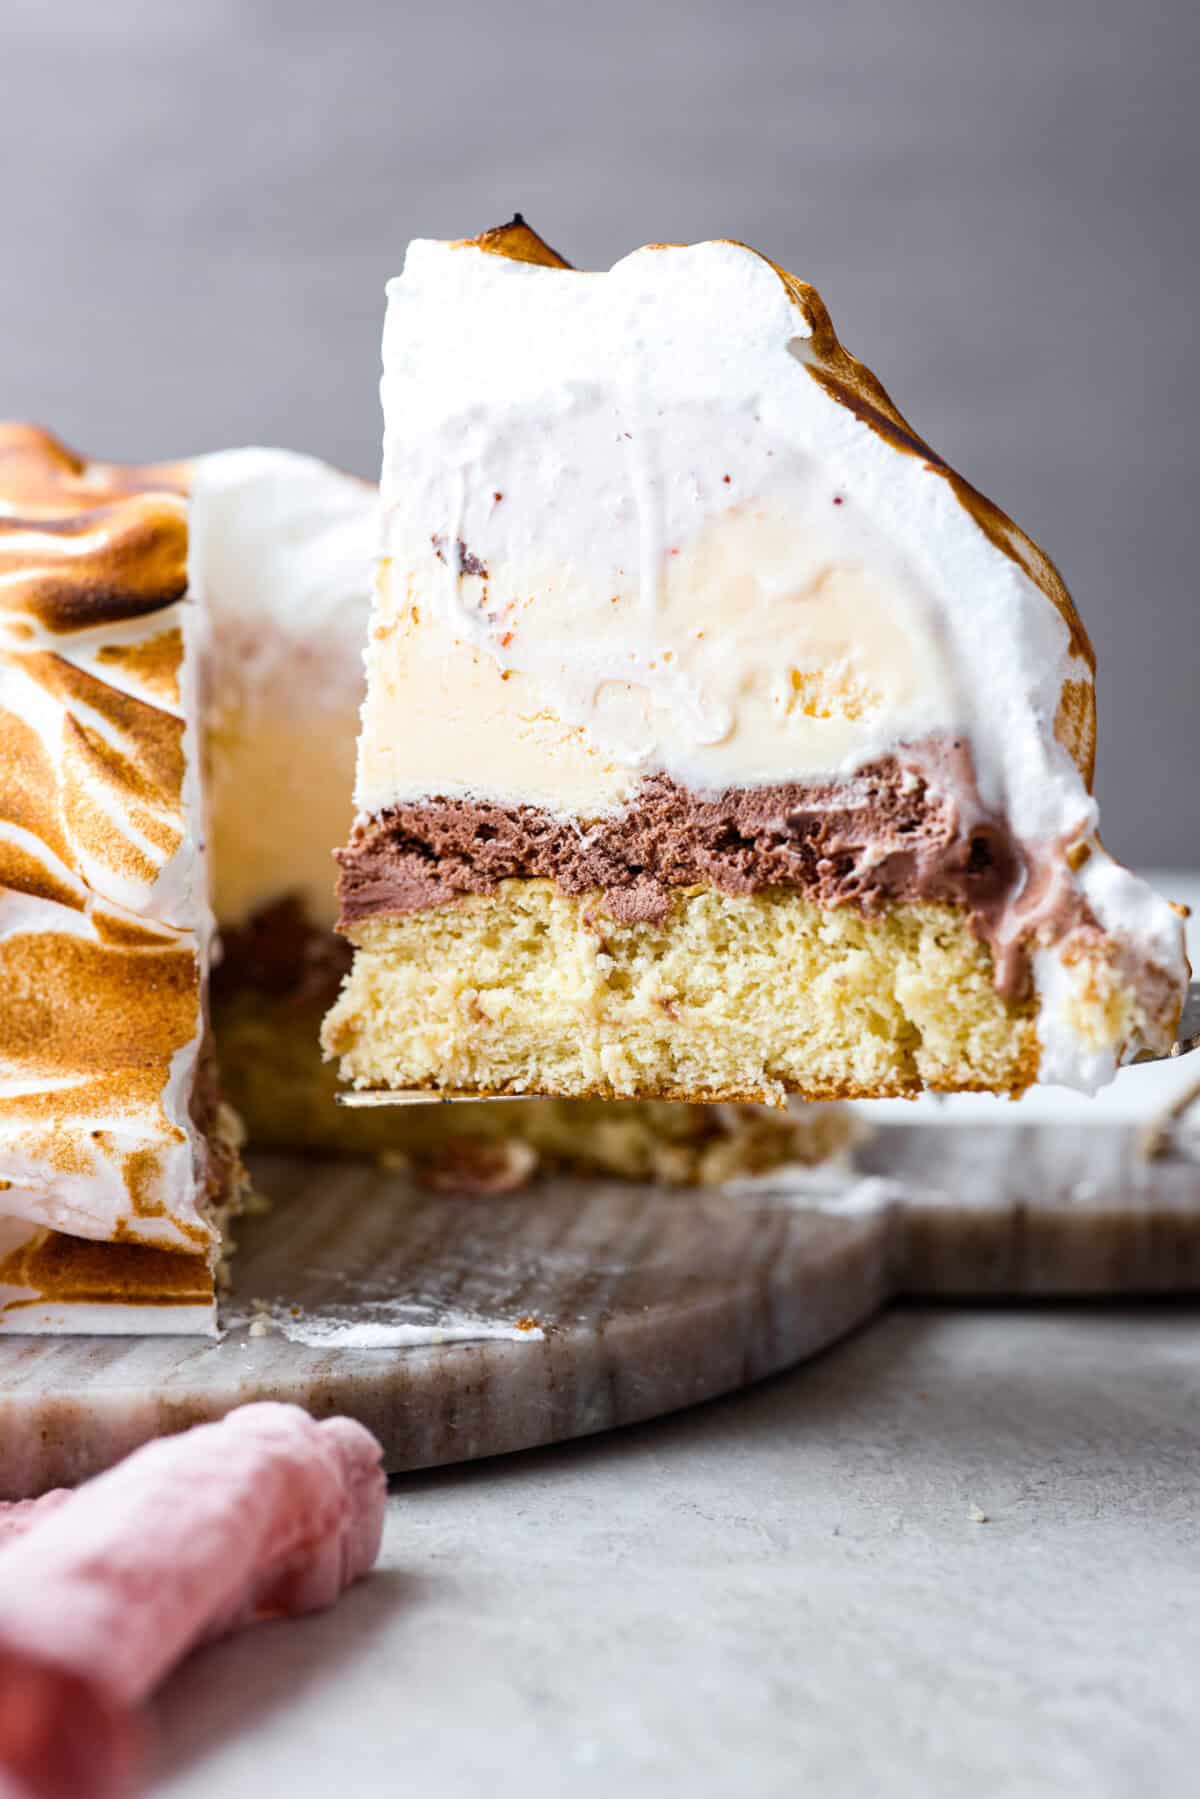
Reasons to Make Baked Alaska
- So Stunning: You will steal the show with this dessert! Don’t be intimidated by its beauty, it’s easier than it looks to make.
- Delicious Flavors and Textures: The combination of your favorite ice cream layered with cake and fluffy toasted meringue is out of this world!
- Crowd-Pleasing: This is so fun to serve because it’s super unique and so delicious! Everyone will be asking for the recipe!
What is a Baked Alaska?
Baked Alaska is a frozen dessert consisting of cake, ice cream, and meringue. In 1867, Charles Ranhofer, the chef at the legendary New York restaurant Delmonico’s, invented it. He created this fancy ice cream cake to celebrate the United States purchasing Alaska from the Russians.
This recipe starts by layering the ice cream and cake in a large bowl. Then, you whip up the fluffy meringue. This is what insulates the ice cream while toasting the outside with either a torch or by baking it for several minutes. The toasted swirls of meringue look so elegant, and the combination of layers tastes heavenly.
Ingredients Needed
Other than the incredible taste, the BEST part of this Baked Alaska recipe is that it only requires 5 simple ingredients! Check out the recipe card at the bottom of the post for exact measurements.
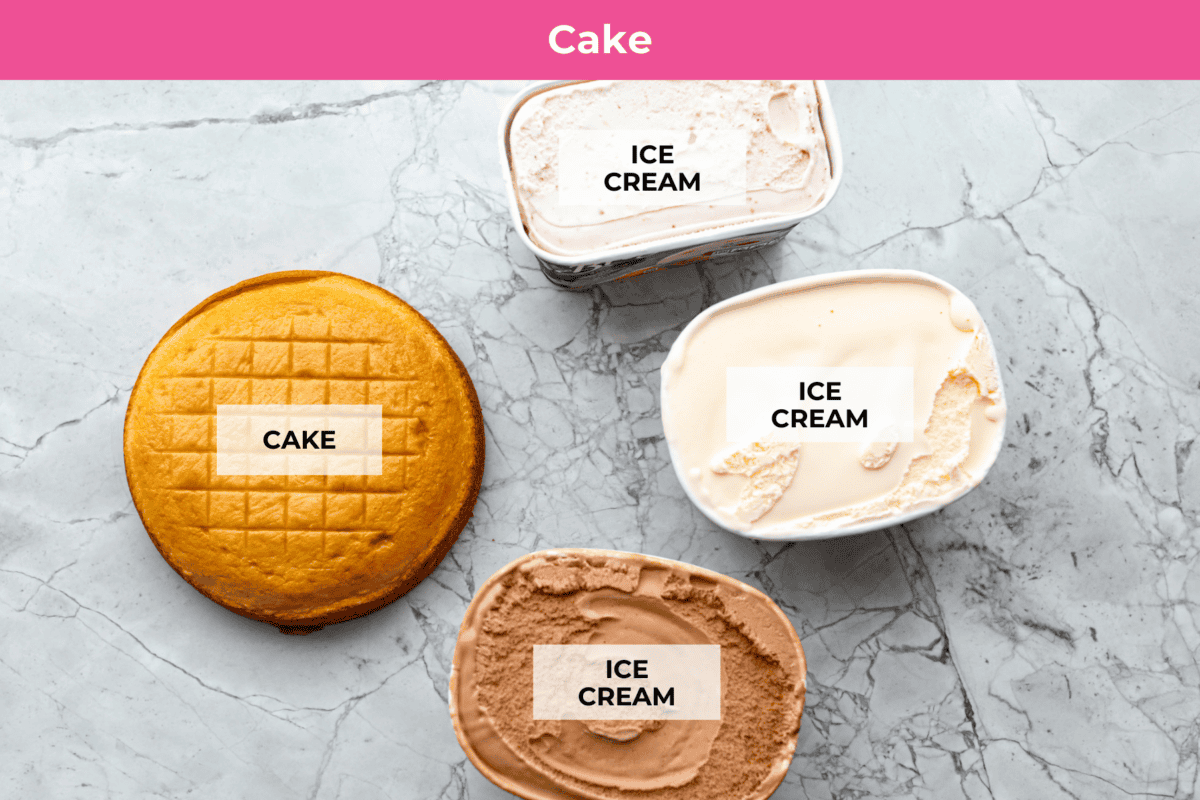
- Cake: For convenience, I typically buy my cake round already prepared, but you can make homemade if you’d like.
- Ice Cream: Choose any favorite flavors! You could use vanilla ice cream, chocolate ice cream, and strawberry ice cream.
Meringue
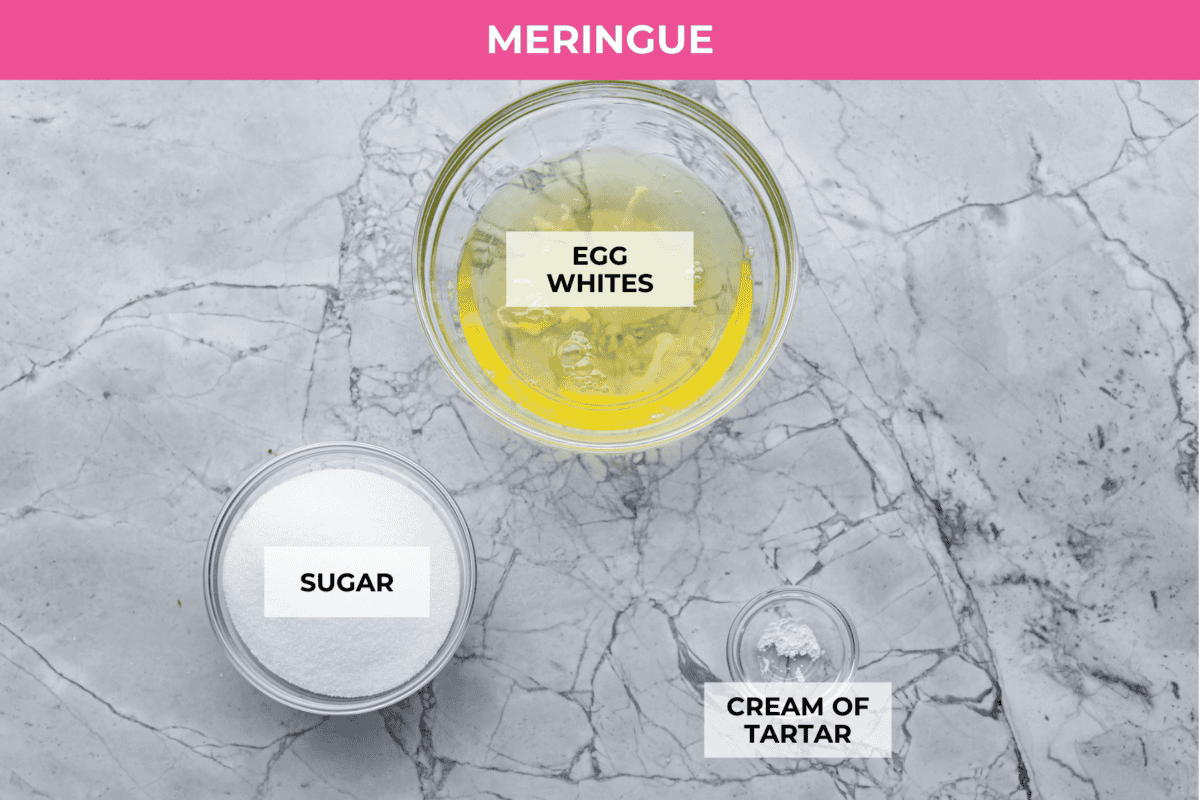
- Egg Whites: Room-temperature egg whites are essential to whipping up the meringue.
- Cream of Tartar: Stabilizes the egg whites and creates the peaks.
- Granulated Sugar: Makes the meringue fluffy and taste sweet.
How to Make Baked Alaska
There are a few steps to this dessert, but it is so worth the effort. Trust me, this is going to be one of the best desserts you will ever make.
Ice Cream Preparation
- Line Plastic Wrap in Bowl: Line the inside of a large metal bowl with a piece of plastic wrap roughly the same circumference as the cake you are using. You will need several long pieces of plastic wrap to make sure they overhang 3-4 inches on either side. Make sure the entire bowl is well-lined.
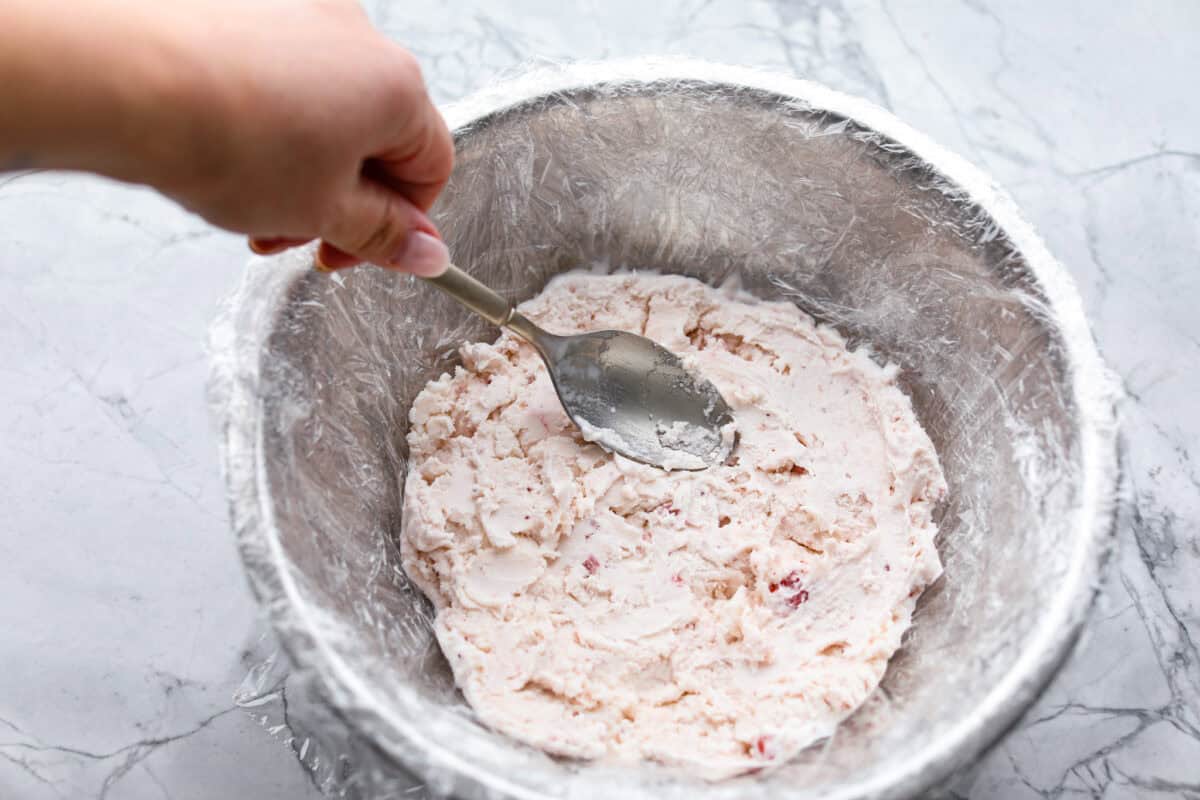
- Add Ice Cream: Scoop the ice cream into the bowl and pack it with the back of a spoon. This is easiest if the ice cream has thawed on the counter for at least 10 minutes. You can use just one flavor or layer as many as you would like. The amount of ice cream needed will depend on the size of your bowl. I used about 3 pints of ice cream.
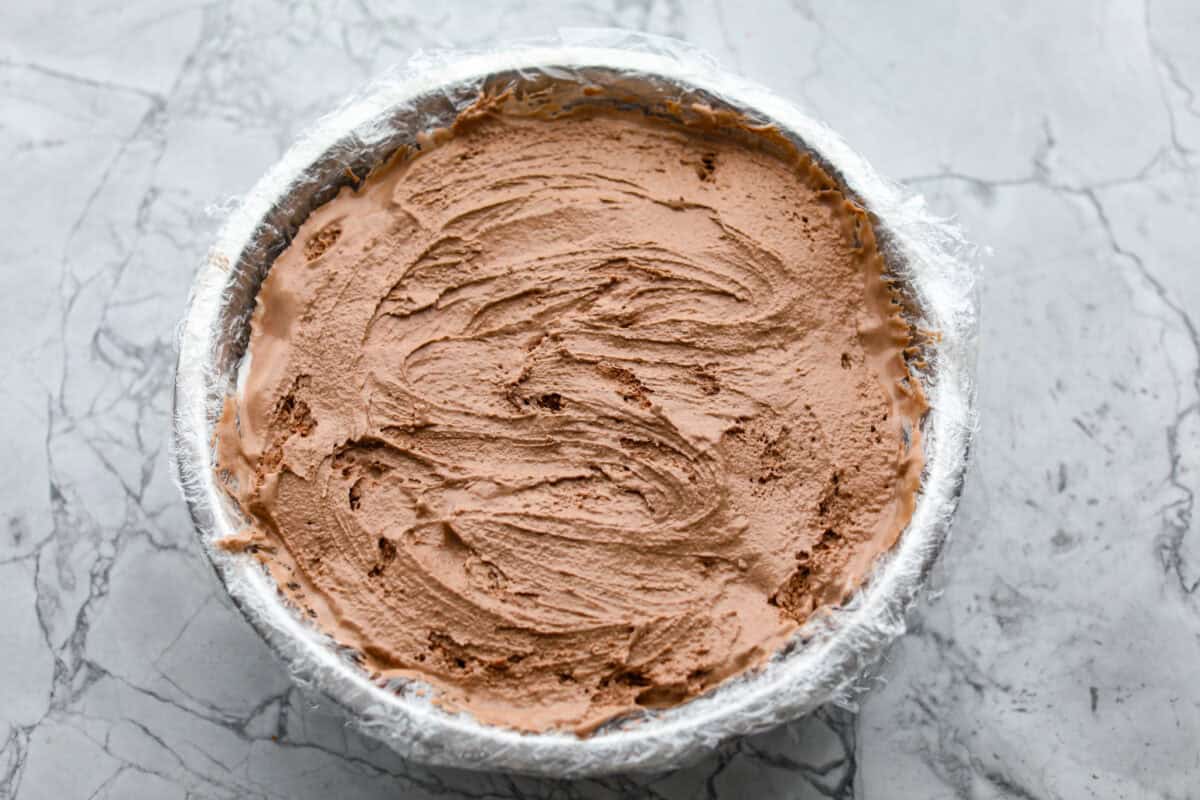
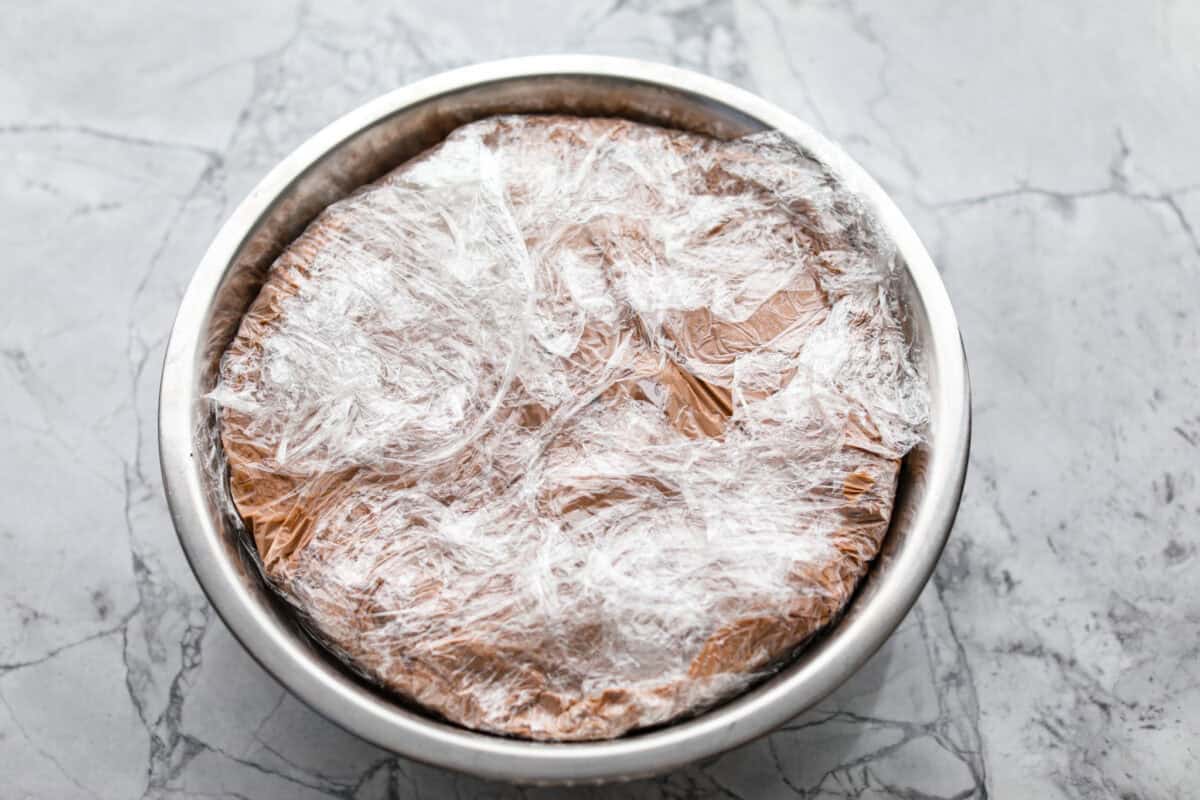
- Cover and Freeze: Once the bowl is full of smoothed-out ice cream, pull the overhanging plastic wrap over it so it is completely covered. Place in the freezer for at least 4 hours to ensure it is fully frozen.
Meringue
- Wipe Bowl and Whisk: Just before assembling the baked Alaska, prepare the meringue. Start by wiping the inside of your mixing bowl and whisk with a paper towel dampened with either lemon juice or distilled white vinegar.
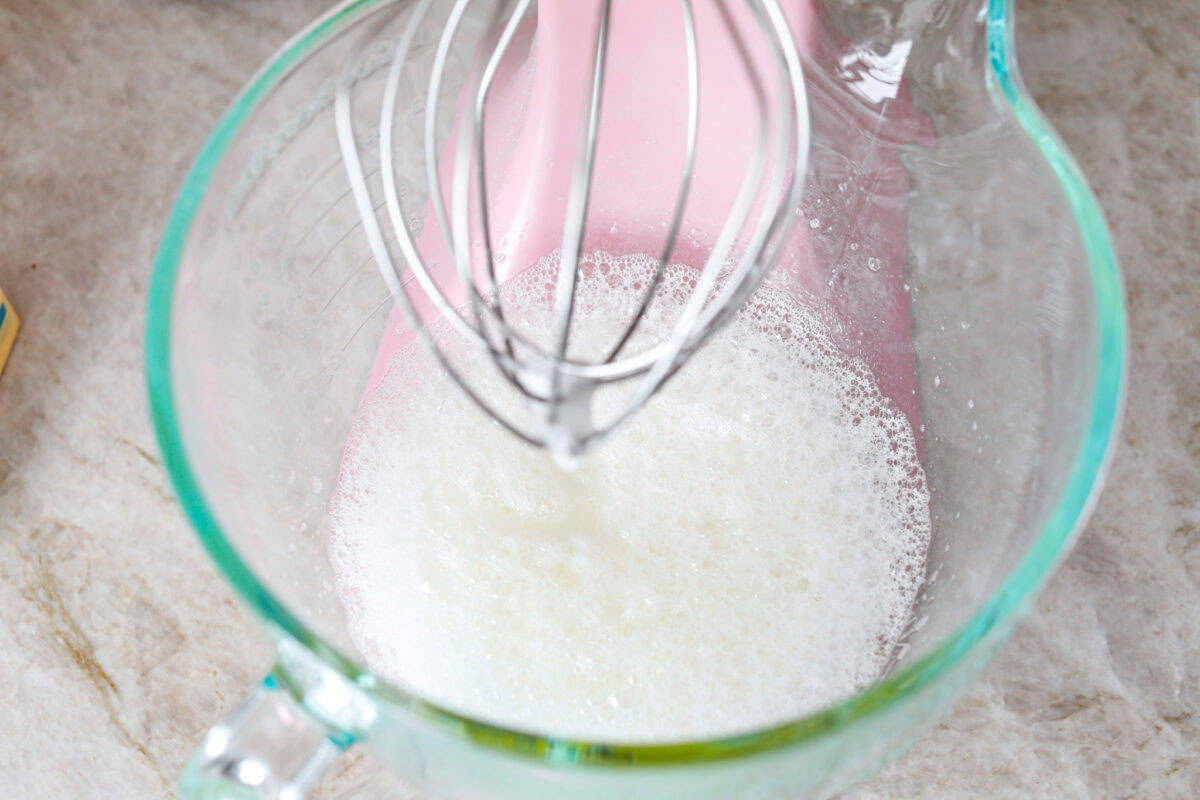
- Whip Egg Whites: Add the egg whites and a pinch of cream of tartar to the bowl and use a stand mixer to whip the whites on medium-high speed until very foamy.
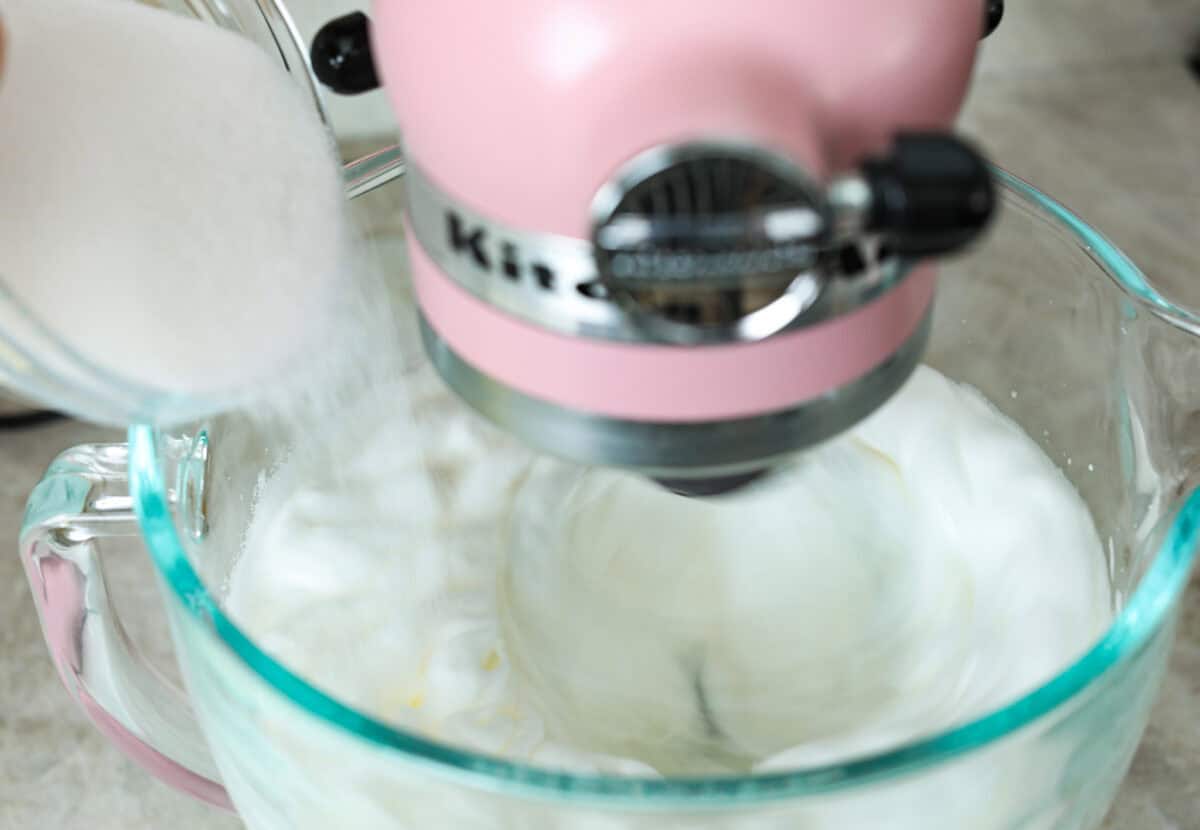
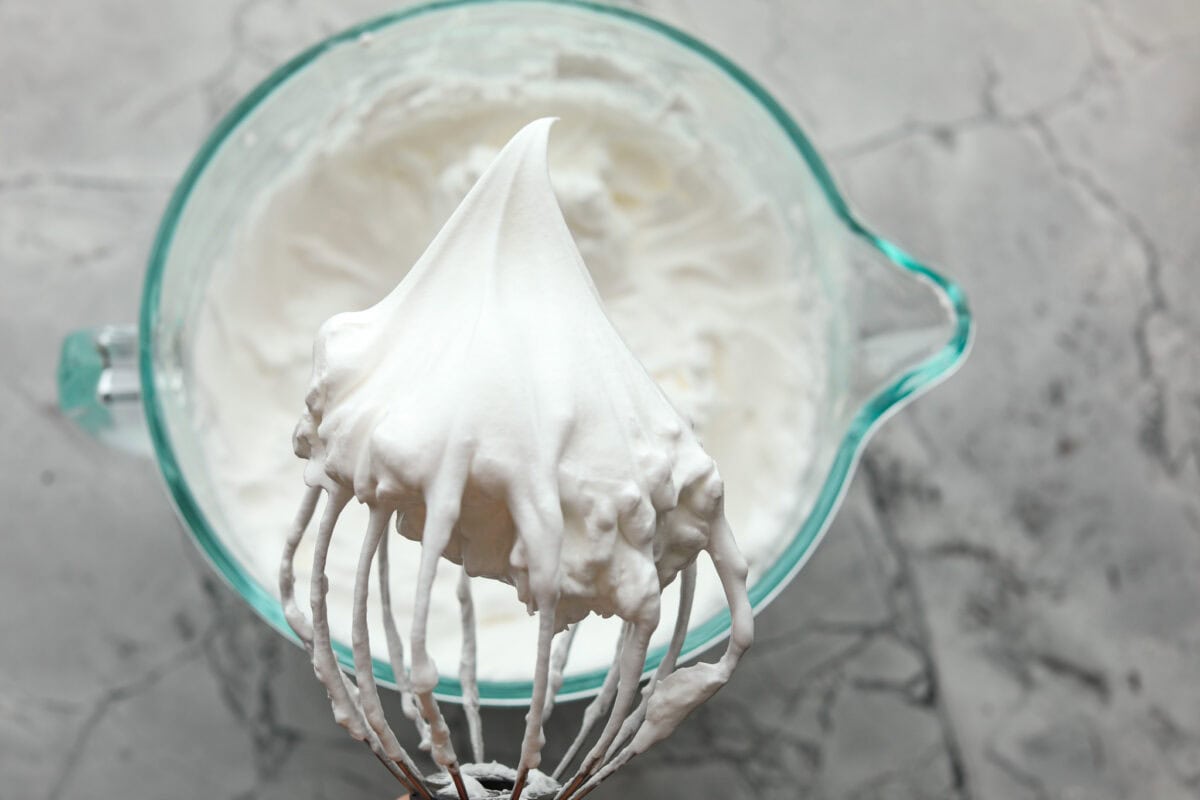
- Add Sugar and Whip: Slowly add the sugar to the egg whites as they continue to whip. Incorporate all the sugar, then increase the speed to high and whip the meringue until it reaches stiff peaks.
Did You Know? Meringue Edition
- Wipe Bowl and Whisk: When preparing your meringue, it’s important to make sure your bowl and whisk are free of any fat from previous items made with them. Moisten a paper towel with white vinegar or fresh lemon juice and wipe out the inside of the bowl and the whisk before starting to make the meringue.
- Use a Metal or Glass Bowl: Make the meringue in a metal or glass bowl, as plastic can retain fat from previous use, making it so your meringue never stiffens.
Assembly
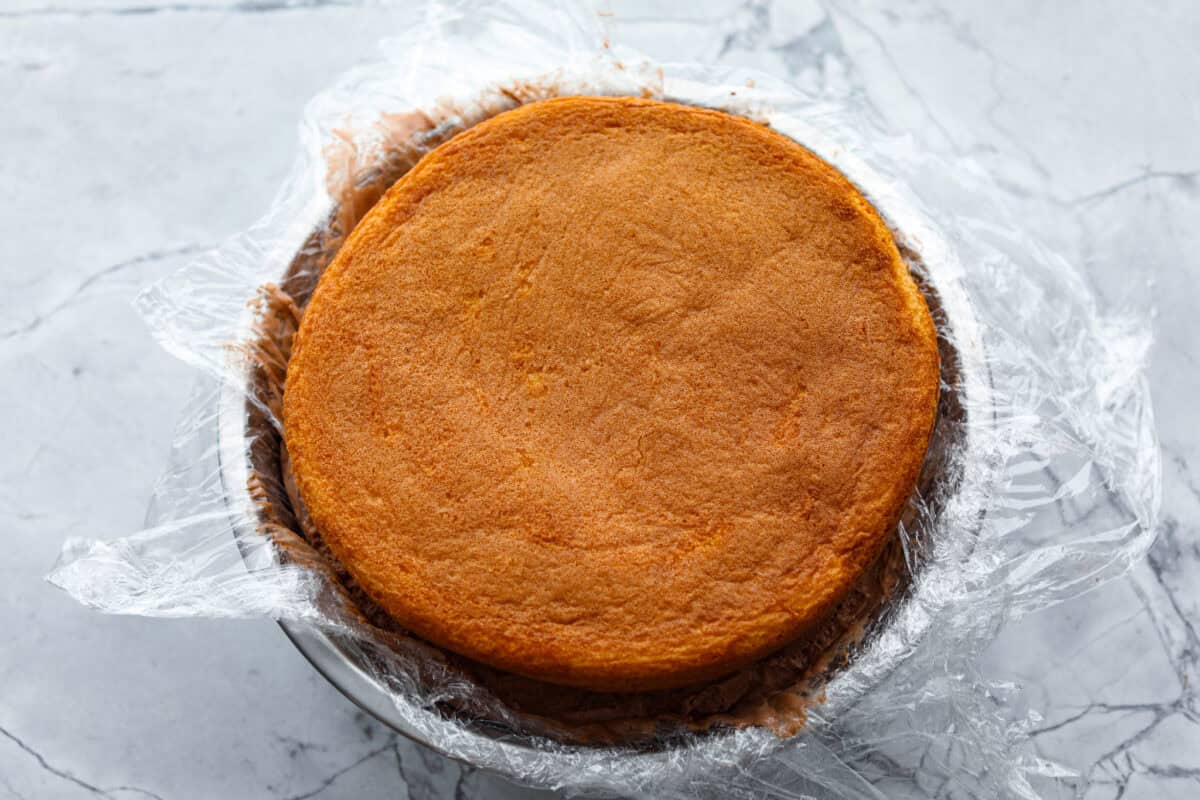
- Add Cake and Flip to Plate: Once the ice cream is frozen solid, open the plastic wrap and press the cake layer onto the ice cream. Carefully flip the ice cream and cake onto a cake stand or serving plate and lift the bowl off. Peel the plastic wrap off the cake.
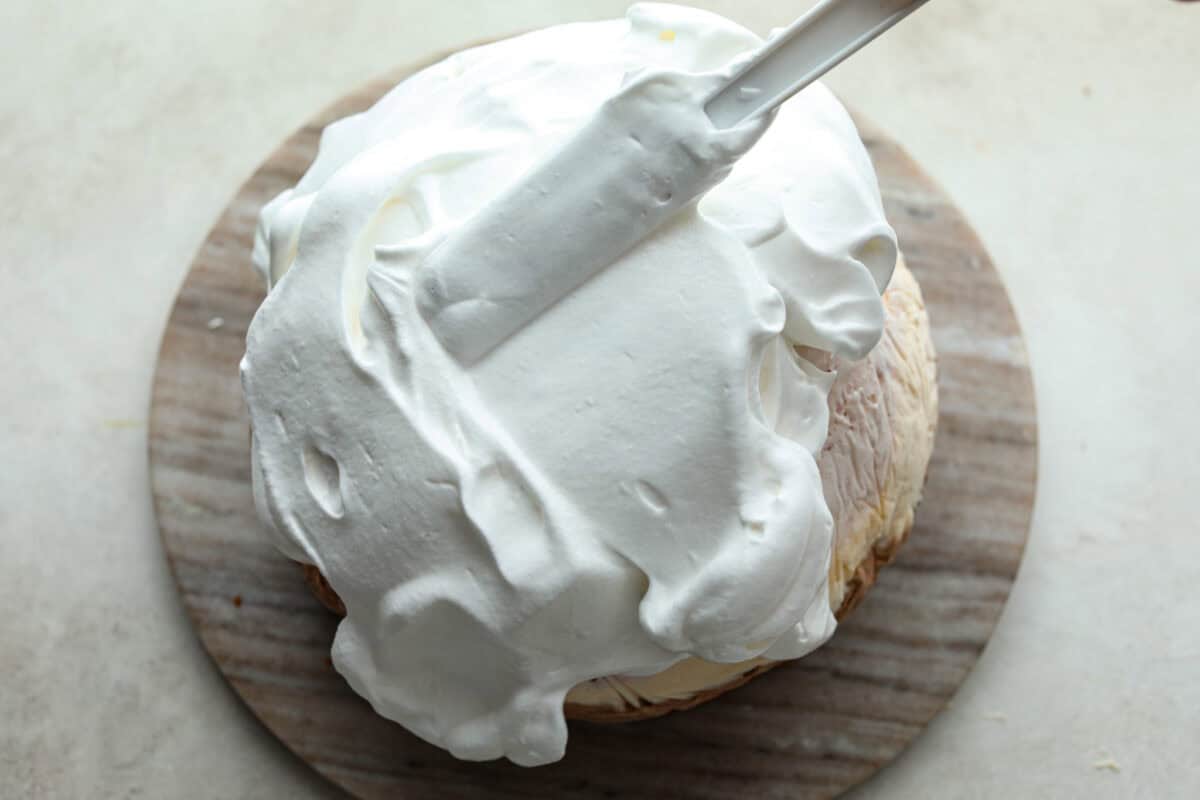
- Add Meringue: Spread the meringue over the top of the ice cream with an offset spatula or pipe it on with a large piping bag and the tip of your choosing. Make sure the meringue is nice and thick, as this insulates the ice cream and prevents it from melting too quickly.
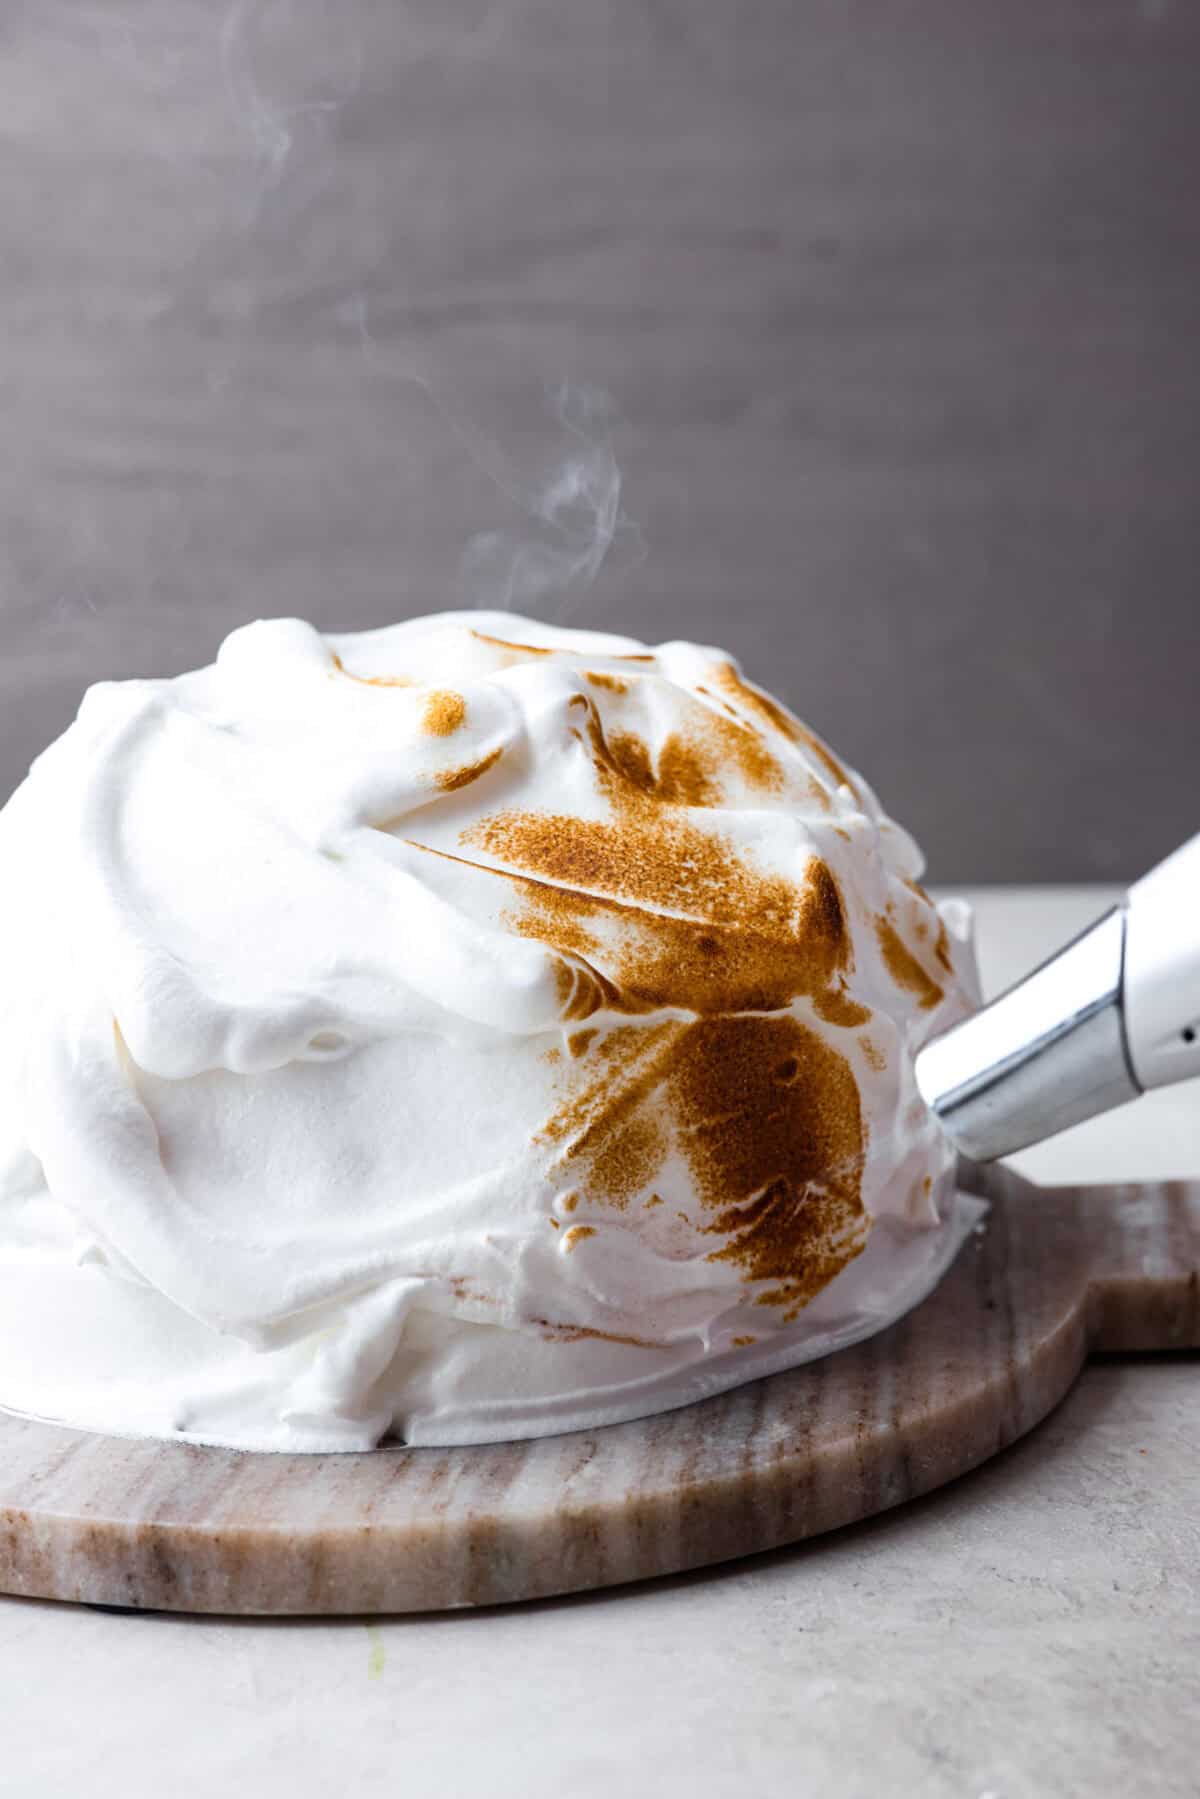
- Toast the Meringue: Use a kitchen torch to toast the meringue, or place the whole baked Alaska in the oven for 4-5 minutes at 500 degrees Fahrenheit. If you use the oven method, make sure the plate your Baked Alaska is on is oven-safe.
Tips for Baked Alaska
Don’t let the meringue part of this Baked Alaska intimidate you. With these tips, perfection is just a few minutes away.
- Cake Variety: You can use whatever kind of cake you prefer, though I don’t recommend using something light like angel food cake. You want a cake with enough structure to support all the ice cream. Pound cake is a good option for ready-made cake from the store. Slice it to fit the bowl you use to mold the ice cream.
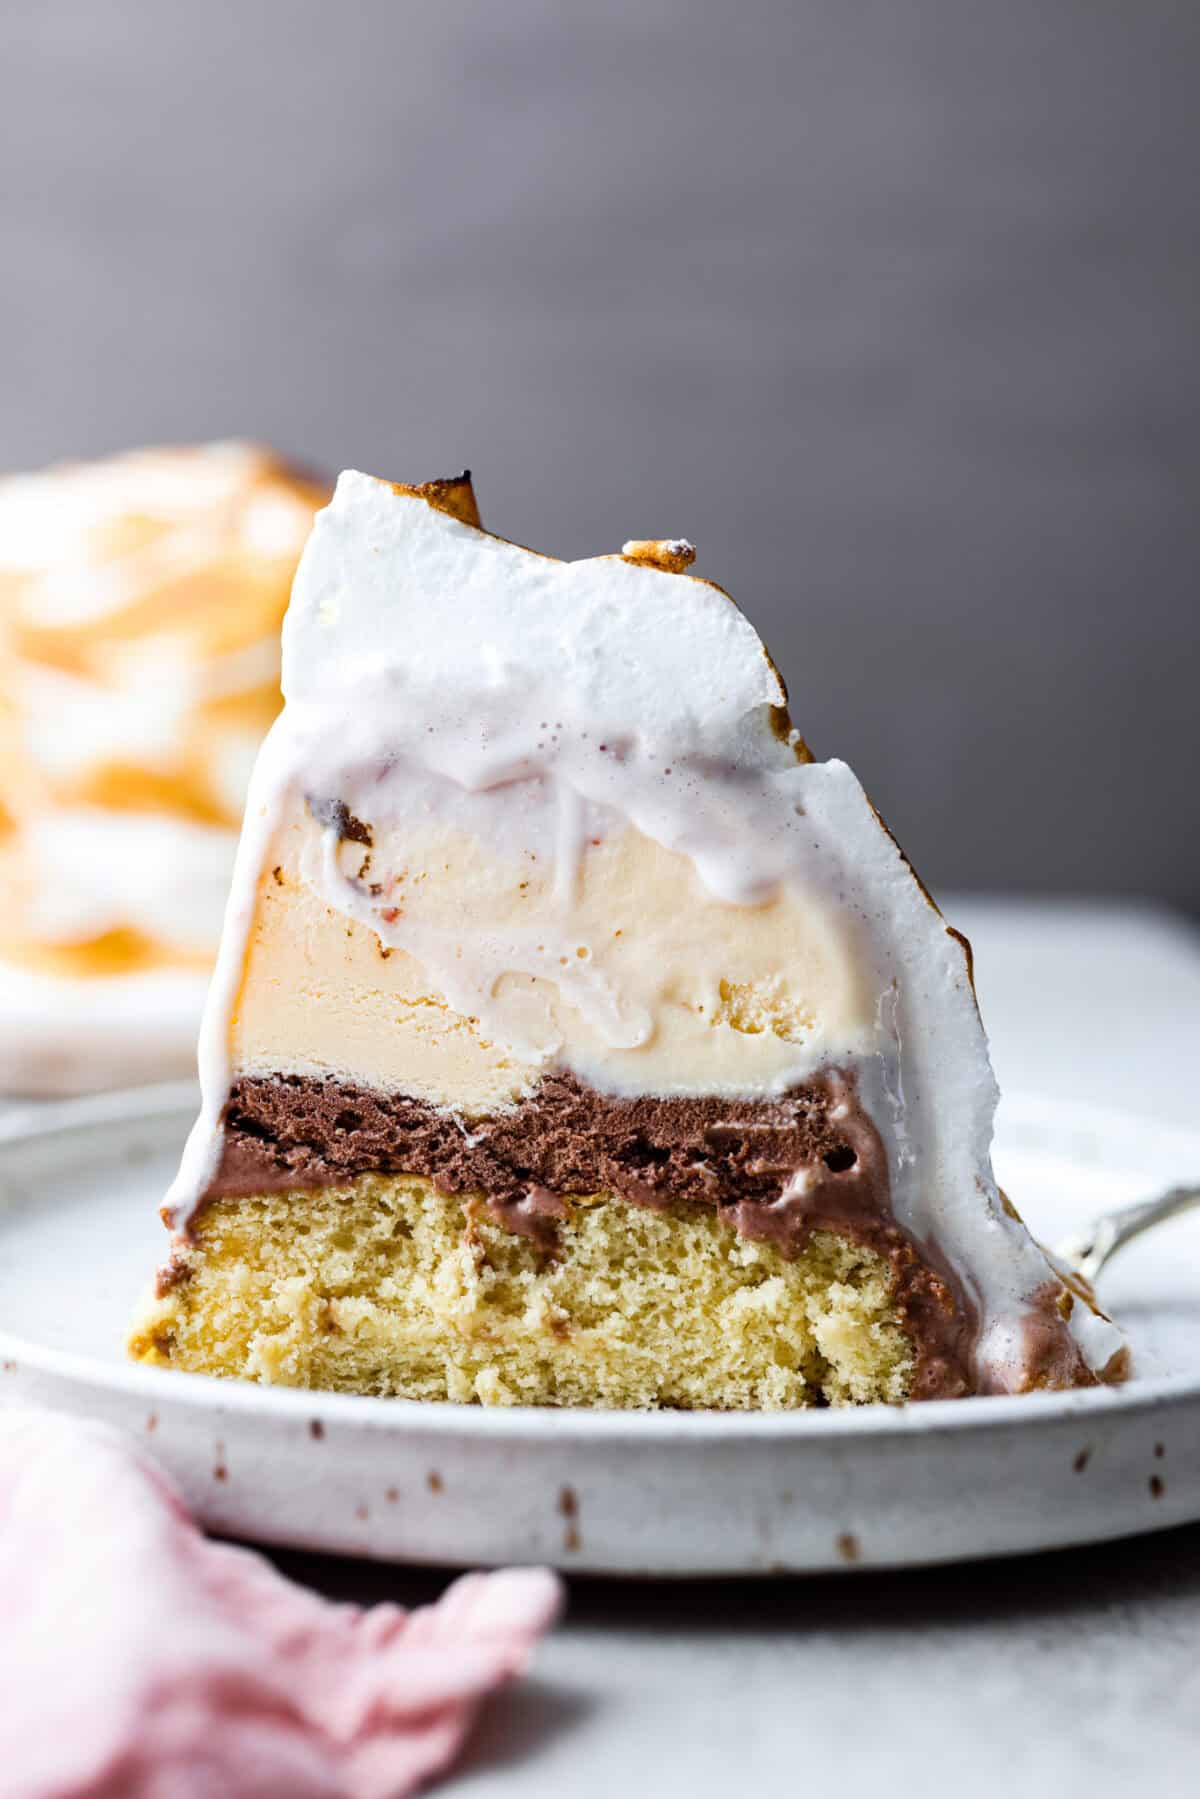
- Any Flavor Ice Cream: I decided to layer my ice cream with Neapolitan flavors, but you can use whichever kind you like best! You can layer different flavors or use one flavor for the whole thing.
- Soften Ice Cream: Make sure the ice cream sits at room temperature for a little while before you scoop it into your mold. It needs to be soft enough to be pressed in and smoothed; otherwise, your ice cream will have air pockets.
- Let Sit Before Flipping: When you are ready to top the baked Alaska with meringue, let the ice cream sit at room temperature for about 5 minutes before inverting it onto your serving plate. This will help it release from the bowl easier and also make it easier to slice into servings.
- Slicing: If you find your Baked Alaska is difficult to slice, run a large chef’s knife under very hot water and dry quickly with a clean kitchen towel before cutting into the ice cream.
How to Store Leftovers
- Make Ahead: The ice cream and cake portions can be prepared up to a month in advance. Wrap the ice cream tightly in plastic wrap. Store the cake in plastic wrap and a freezer ziplock bag. When ready to serve the Baked Alaska, make the meringue and assemble.
- Store in the Freezer: To store leftovers, cut into slices, wrap in plastic wrap, and freeze for up to about one week. Keep in mind that the meringue will lose its soft marshmallow texture the longer it is frozen.
More Delicious Cake Recipes
If you need a cake recipe, look no further! From chocolate and vanilla cake to strawberry and beyond, we’ve got a cake for any occasion! Here are some of our tried and true cake recipes that I know you’ll love.
Pin this now to find it later
Ice Cream Preparation
-
Line the inside of a large metal bowl with roughly the same size circumference as the cake you are using with several long pieces of plastic wrap, making sure they overhang 3-4 inches on either side. Make sure the entire bowl is well-lined with the plastic wrap.
-
Scoop the ice cream into the bowl and pack it with the back of a spoon. This is easiest to do if the ice cream has thawed on the counter for at least 10 minutes. You can use just one flavor, or layer as many as you would like. The amount of ice cream needed will depend on the size of your bowl. I used about 3 pints of ice cream.
-
Once the bowl is as full of ice cream as you would like, smooth the ice cream and pull the overhanging plastic wrap over it so it is completely covered. Place in the freezer for at least 4 hours to ensure it is fully frozen.
Meringue
-
Just before assembling the baked Alaska, prepare the meringue. Start by wiping the inside of your mixing bowl and whisk with a paper towel dampened with either lemon juice or distilled white vinegar.
-
Add the egg whites and a pinch of cream of tartar to the bowl. Use a stand mixer to whip the whites on medium speed until very foamy.
-
Slowly add the sugar to the egg whites as they continue to whip. Incorporate all the sugar, then increase the speed to high and whip the meringue until it reaches stiff peaks.
Assembly
-
Once the ice cream is frozen solid, open the plastic wrap and press the cake layer onto the ice cream. Carefully flip the ice cream and cake onto a cake stand or serving plate and lift the bowl off. Peel the plastic wrap off the cake.
-
You may spread the meringue over the ice cream with a spatula or pipe it on with a large piping bag and the tip of your choosing. Make sure the meringue is nice and thick, as this insulates the ice cream and prevents it from melting too quickly.
-
You may either use a hand torch to toast the meringue, or you can place the whole baked Alaska in the oven for 4-5 minutes at 500 degrees Fahrenheit. If you use the oven method, make sure the plate your Baked Alaska is on is oven-safe.
Calories: 618kcalCarbohydrates: 115gProtein: 11gFat: 15gSaturated Fat: 4gPolyunsaturated Fat: 3gMonounsaturated Fat: 4gTrans Fat: 0.2gCholesterol: 30mgSodium: 581mgPotassium: 251mgFiber: 1gSugar: 69gVitamin A: 355IUCalcium: 229mgIron: 1mg
Nutrition information is automatically calculated, so should only be used as an approximation.


