This website may contain affiliate links and advertising so that we can provide recipes to you. Read my disclosure policy.
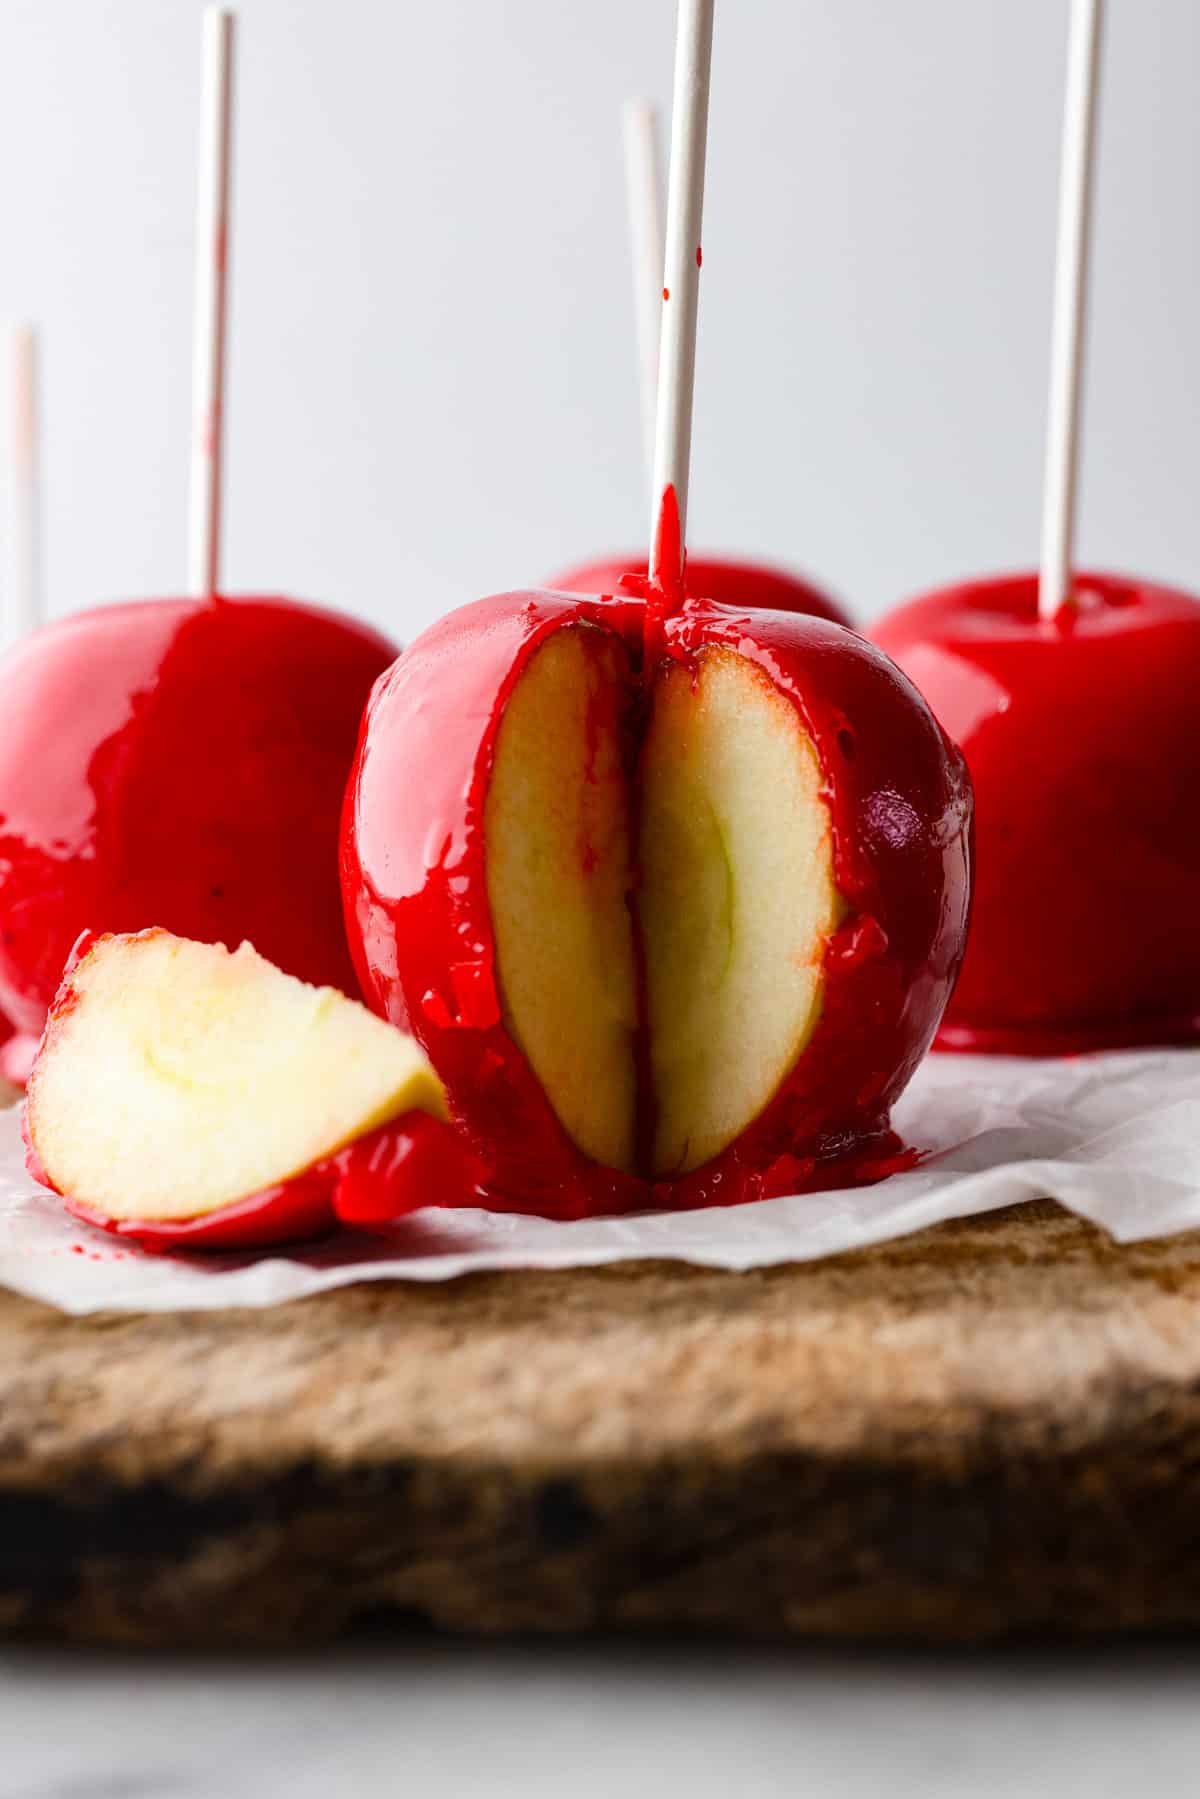
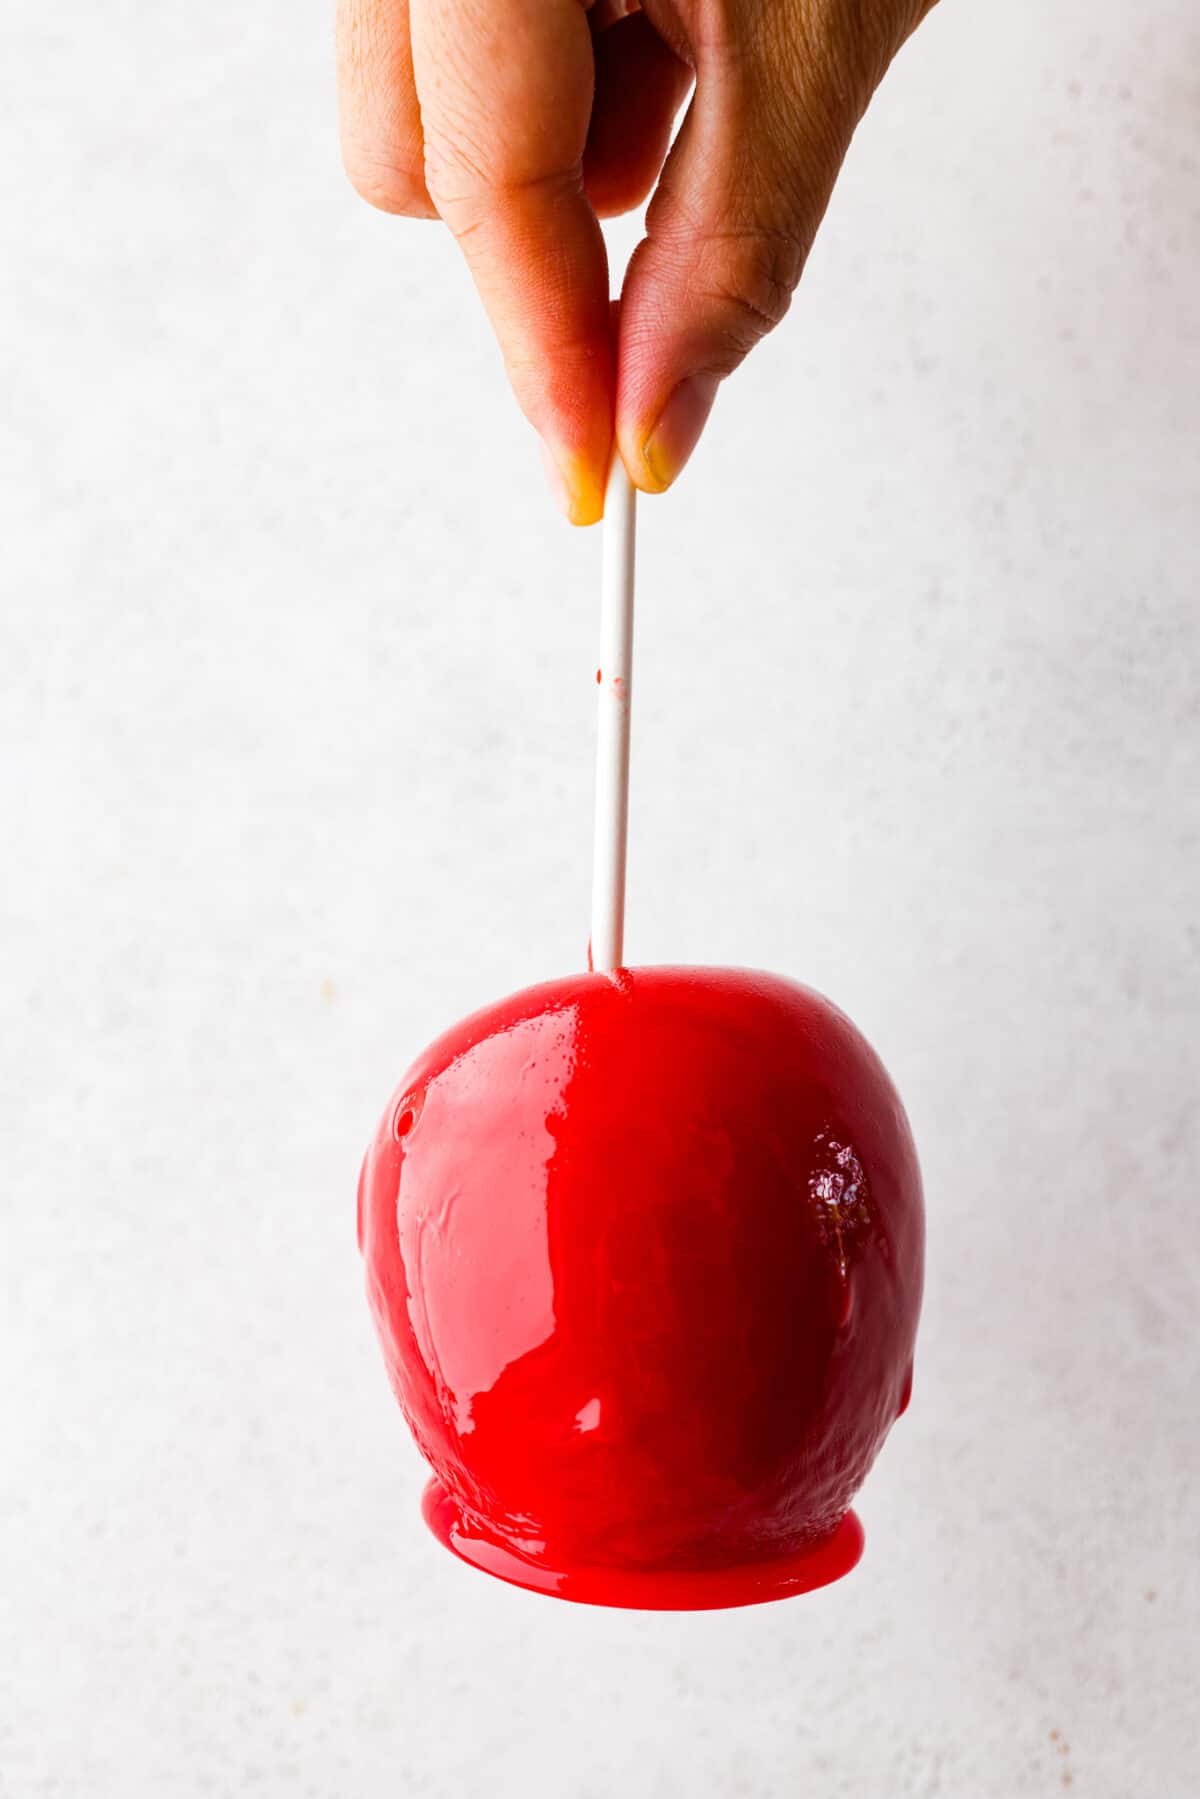
Fall is here, and that means it’s time to make a tasty batch of candy apples! Your favorite crisp apples coated in a glossy, red sugar mixture that almost looks too good to eat!
If you have some leftover apples, try these classic caramel apples or ‘poison’ caramel apples next! They’re perfect for a Halloween party and getting you into the spooky season spirit!
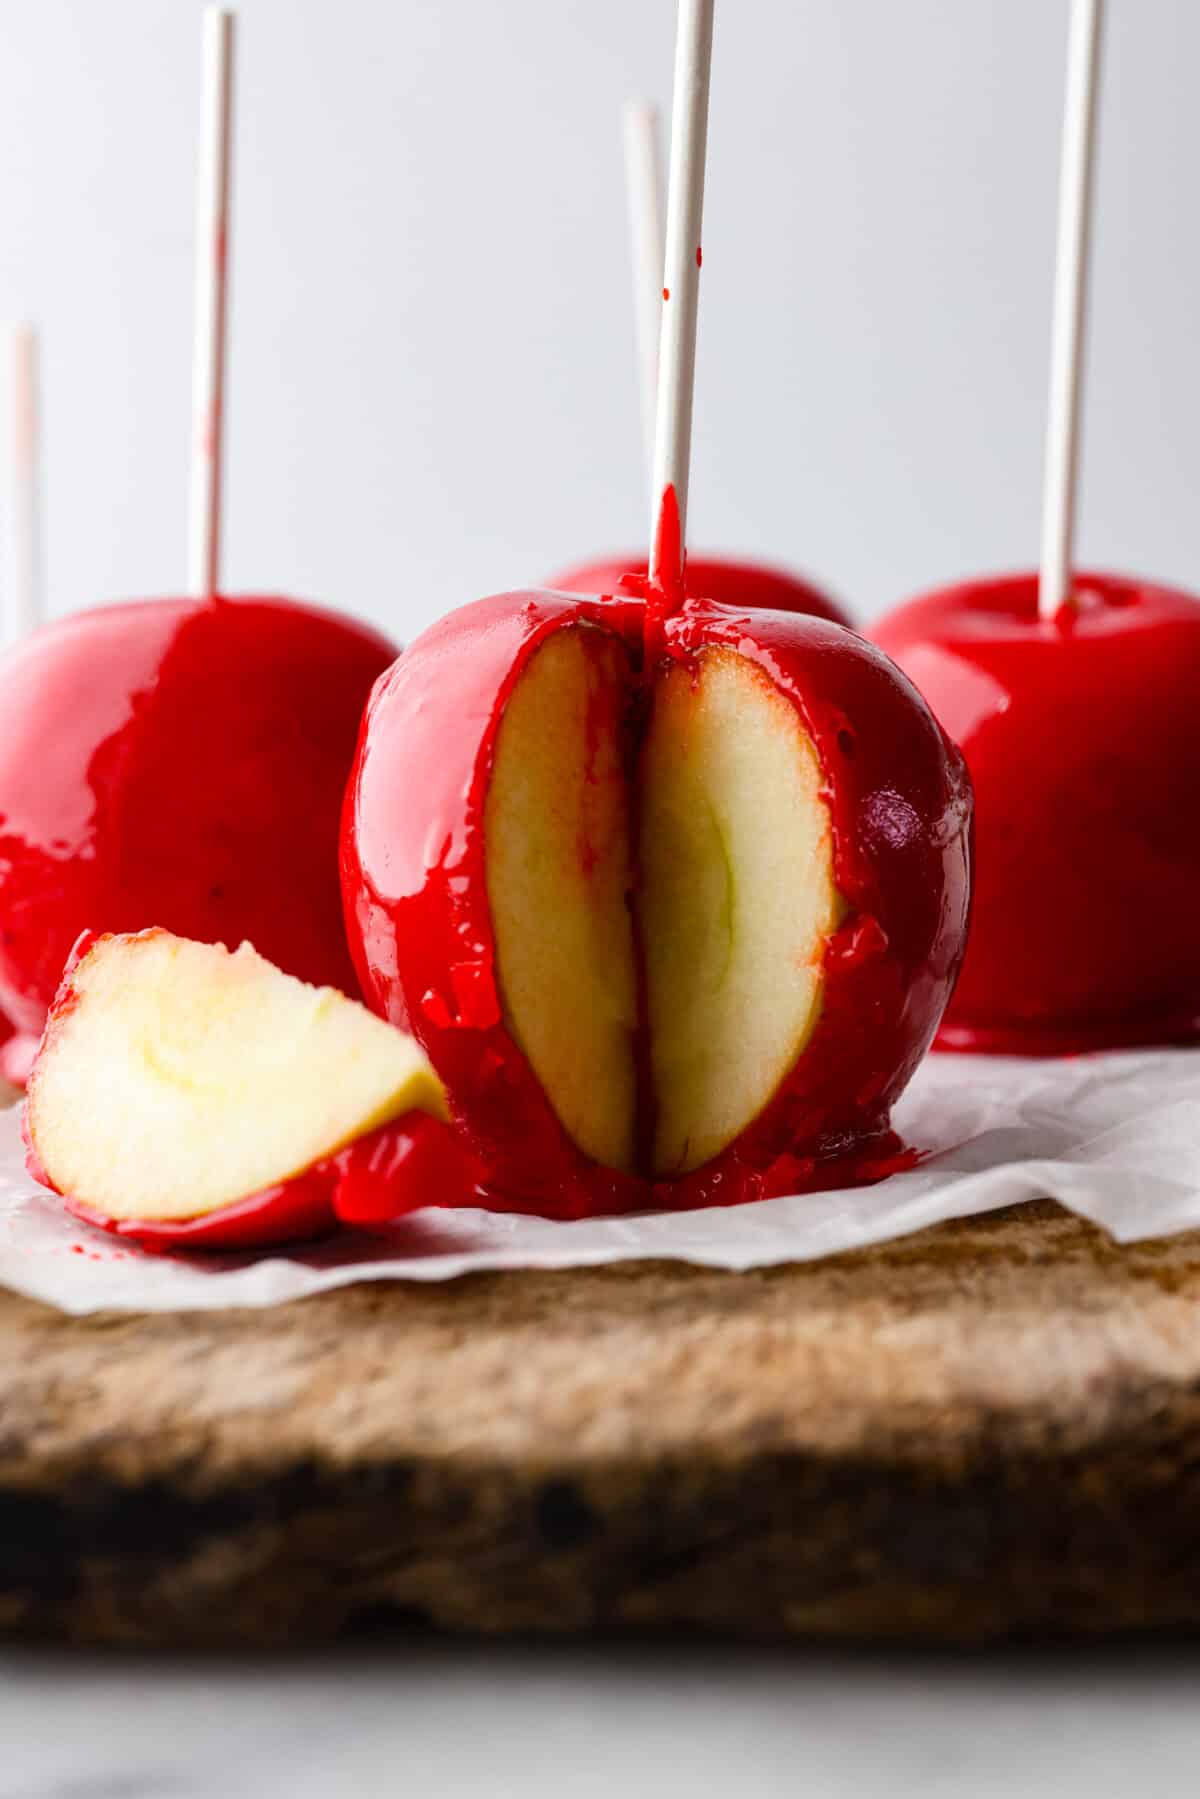
Candy Apple Recipe
I LOVE candy apples. Seriously, they’re a feast for the eyes, almost too pretty to eat, but trust me, you won’t be able to resist. When autumn rolls around, and the leaves start changing colors, candy apples are like the finishing touch to the season. That glossy red candy shell wrapped around a crisp apple is like a work of edible art. Plus, they’re a breeze to make, so you can whip up a batch and get in the fall spirit in no time.
The best part about candy apples is that they’re a two-in-one treat. You have your juicy, crisp apples, but then one bite into that sweet, crunchy candy shell and you’re in fall heaven. So, grab a candy apple, embrace the spooky season, and indulge in the perfect blend of sugar, spice, and everything nice. Fall just got a whole lot sweeter!
Candied Apple Ingredients
Ready to whip up some candy apple magic? We’ve got a handful of simple ingredients that’ll turn those ordinary apples into sweet, glossy treats. Exact measurements are in the recipe card below.
- Medium Apples: The main ingredient, the apples themselves, ready to be candy-coated. I used Granny Smith apples because I like the tart flavor they have, but you can use any kind you want! If you want something sweeter try Fuji, gala, or honeycrisp apples.
- Popsicle or Caramel Apple Sticks: Sturdy sticks to make handling and eating the apples easier.
- Water: Used to dissolve and mix the sugar for the candy coating.
- Granulated Sugar: The main sweetener for the candy coating.
- Light Corn Syrup: Adds the right consistency and texture to the candy coating.
- Gel Food Coloring: So the candy apples have their classic red hue!
- Flavoring (optional): If you want to add flavor to the candy coating, this is where you can do it. Just add a few drops of your favorite flavor extracts!
How to Make Candy Apples
Sometimes making homemade candied apples can be tricky because the coating won’t stick or be the right consistency. Follow these straightforward instructions and you’ll be golden! You’ll want to make these gorgeous treats all fall long.
Prep Your Apples
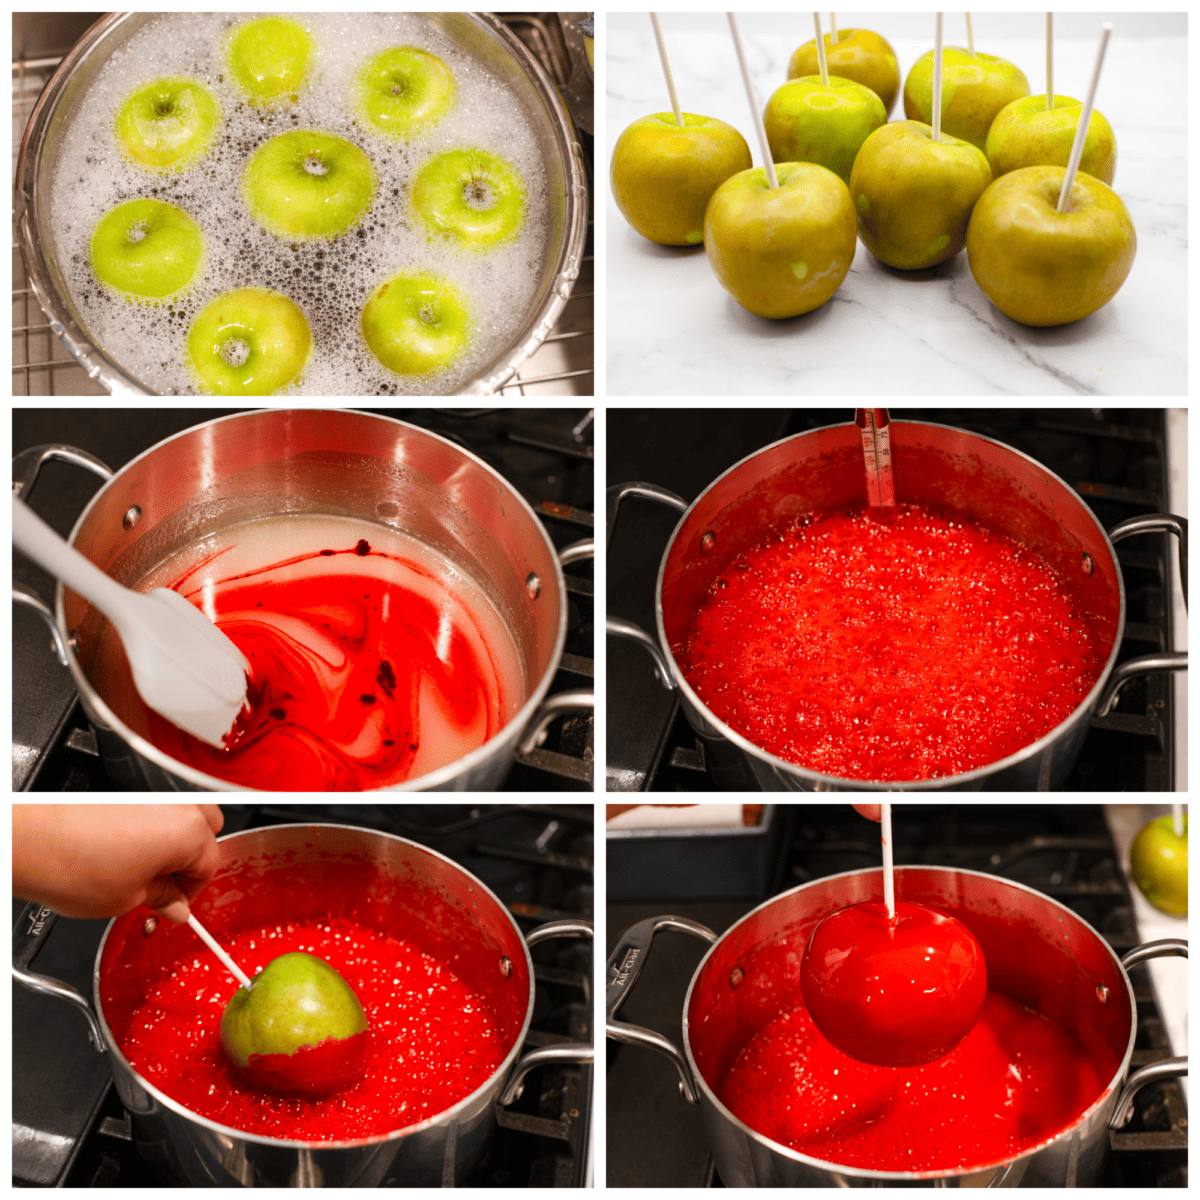
- Boil: Remove the stems and stickers from your apples. Add the apples to a large bowl and add 1 small squeeze of dish soap. Add hot water, nearly boiling, to the bowl and let the apples sit for a minute or so. This will help all the wax come off, which makes the candy stick to the apple better. The apples will likely look browned and discolored, maybe even have a white residue. This is normal and a good sign! Dry the apples thoroughly and stick the popsicle sticks into them, right on top where the stem was.
- Chill: Place the apples in the fridge to chill while you prepare the candy.
Make the Candy Apple Coating
- Melt: Add the water, sugar, and corn syrup to a medium-sized, heavy-bottomed saucepan. Leave over medium heat until the sugar is dissolved and then stir in your red food coloring. If you want the color to appear more opaque, add white gel food coloring to the color you want the apples to be. If you would like to add an oil flavoring, add it now. 3-4 drops will be sufficient.
- Add Candy Thermometer: Add a candy thermometer to the pot, ensuring it’s submerged in the candy but not touching the bottom. Let the candy cook until it reaches 300 degrees Fahrenheit. This will take 10-15 minutes, but once it’s ready, you will have to work quickly.
- Prepare Workstation: While the candy cooks, prepare your apple station by lining a baking sheet with a Silpat or parchment paper. It’s also a good idea to place some hot pads under the baking sheet, as the candy will heat the baking sheet up after the apples are dipped and placed on it. Remove the apples from the fridge when the candy is nearly 300 degrees and place them on the prepared baking sheet, ready to be dipped.
- Coat Apples: Once the temperature of the candy reaches 300-310 degrees Fahrenheit (the hard-crack stage), turn off the heat and quickly, but carefully, dip the apples in the candy mixture. I found it easiest to tilt the pan to the side and twirl the apple until it was fully coated. Try to twirl the apple slowly otherwise, you will end up with bubbles in your candy and on your apples.
- Cool and Set: Let the dipped apples sit until fully cooled and the candy has hardened.
Make Sure the Coating is the Right Temperature!
Be sure to let the candy cook until 300-310 degrees Fahrenheit. If you do not have a candy thermometer, you can use the cold water test. Use a spoon to drop some of your candy into a bowl of very cold water. If your candy has reached the hard crack stage, the candy will immediately harden when it touches the cold water and have no give to it, immediately snapping when you try to break the threads in the water. If it is still in the soft crack stage, the threads of candy in the water will be pliable and bend when you try to break them.
Tips and Variations
Here are a few simple tips to keep in mind so you end up with the tastiest, glossiest, candy apples ever!
- Wash Your Apples: Don’t skip the washing step! This helps remove the wax from the apple and allows the candy to stick to the apple better. The apples will look discolored and pretty ugly, but that means they are clean and ready for a coat of yummy hard candy.
- Flip Them: For an easier time adding the stick into the apples, try turning the apples upside down (making them wider at the bottom for a more steady base). Wrap a clean kitchen towel around the top of the stick and use the heel of your palm to drive the stick into the center of the apple, pressing until it pokes through to the bottom of the apple.
- Add Flavor Extracts: Adding flavoring to the candy takes it above and beyond! These LorAnn oil flavorings use just a few drops and make such a difference. Try adding some cinnamon oil to make delicious cinnamon apples!
- Change the Color: You can use whatever color you want to color your candy. Start with a few drops and add more as needed to achieve your desired color. If you want the candy to be opaque, use white gel food coloring in addition to the main color you want.
Storing Leftovers
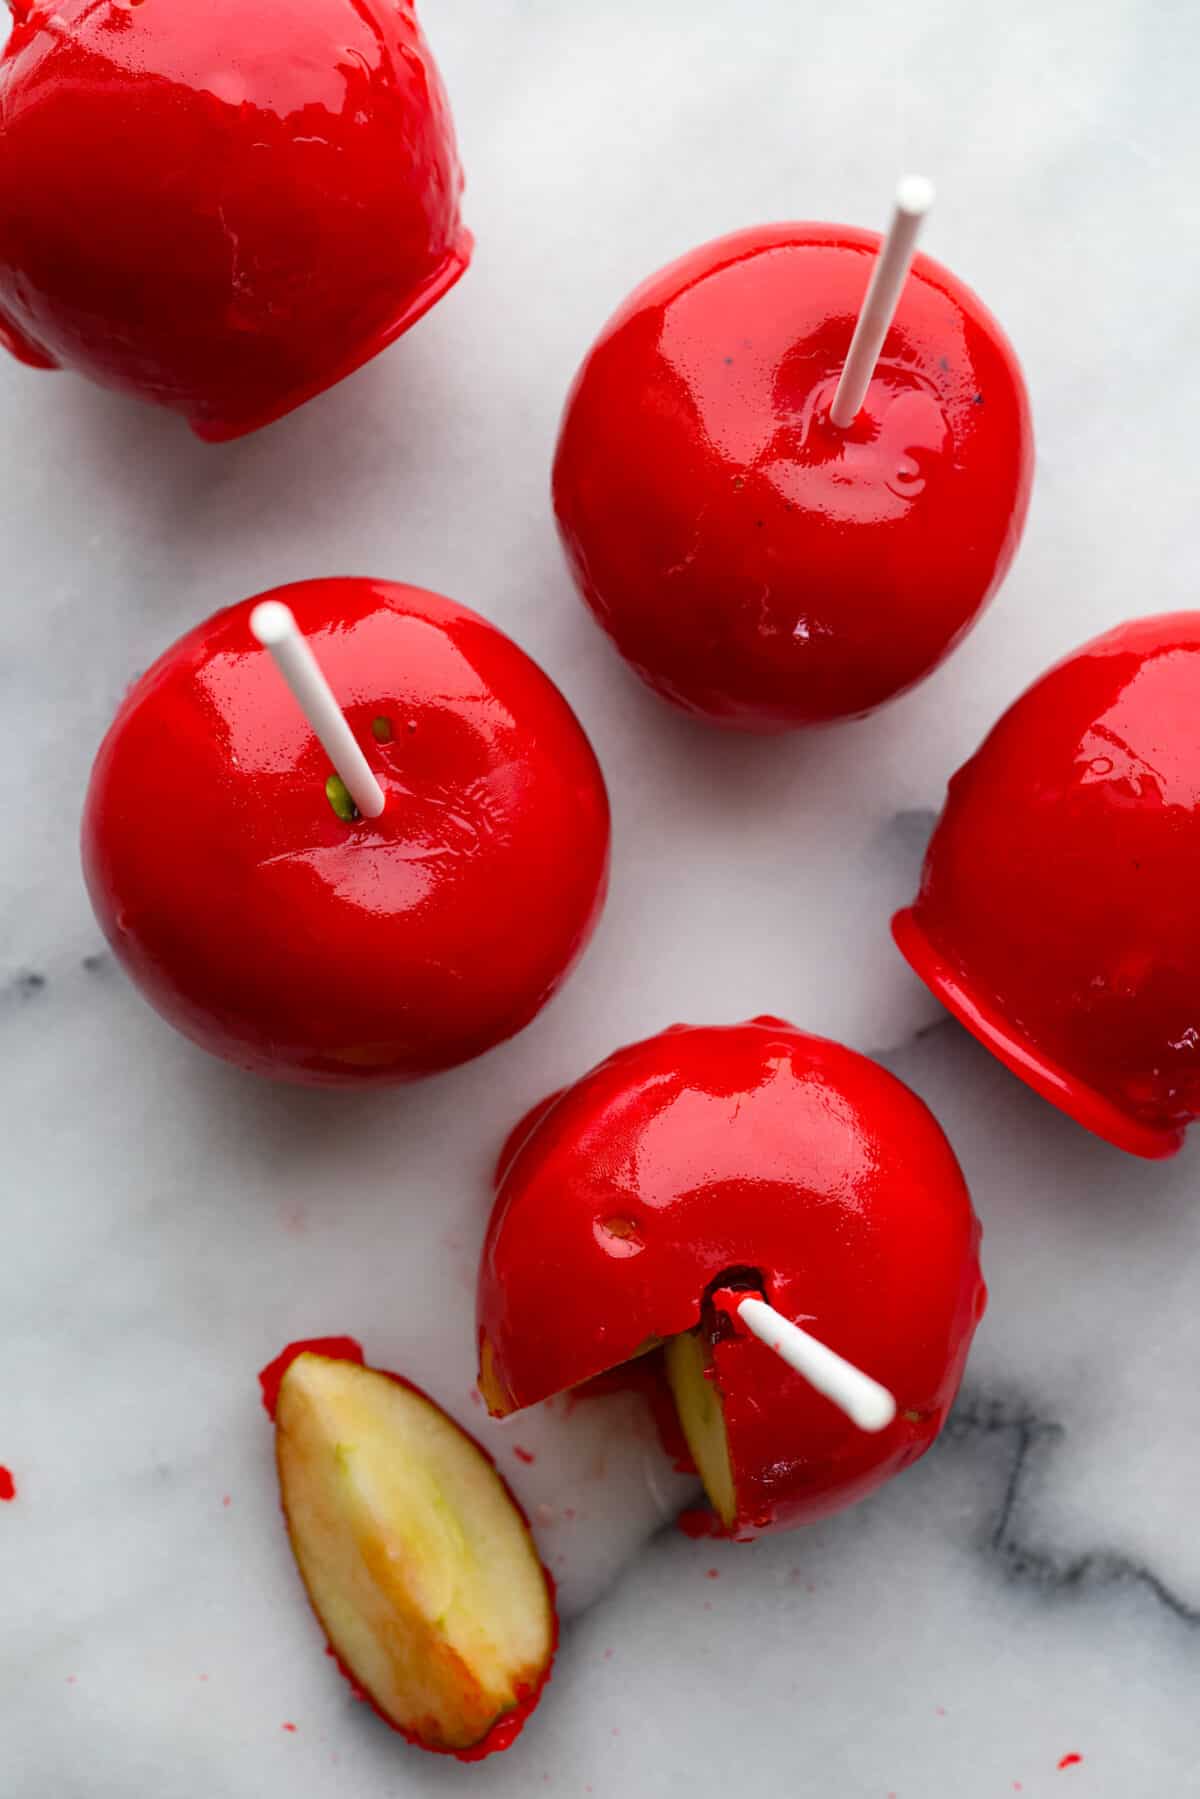
Now that you have a batch of candied apples made, here’s how to store them for later and keep them fresh!
- At Room Temperature: Candy apples can be stored at room temperature either wrapped in individual cellophane bags or in an airtight container for 3-5 days. They can be stored the same way in the fridge for up to 3 weeks.
- Fully Coat Your Apples: For best keeping, dip the apples fully in the candy, so it coats the entire apple all the way up to the stem. The candy creates an air-tight seal around the apple and will prevent it from going bad. If you choose to leave the tops of the apples exposed, they may not keep as long as suggested above.
- If You Have Leftover Coating: Save the leftover dipping candy! Spray a silpat or a sheet of parchment paper with pan spray and dump the leftover hot candy onto it. Let it cool completely before breaking it into pieces. Store the leftover pieces in an airtight container at room temperature for up to 3 weeks.
Can You Freeze Candy Apples?
Technically yes, but it is not recommended. The texture of the apple will change and the candy may become sticky upon thawing. If you choose to freeze them, wrap the individual apples in wax paper to prevent them from sticking to each other and then place them in an air-tight container. They will keep for up to 3 months. Allow to thaw overnight before serving.
Try These Other Fall Treats Next:
Pin this now to find it later
-
Remove the stems and stickers from your apples. Add the apples to a large bowl and add 1 small squeeze of dish soap. Add hot water, nearly boiling, to the bowl and let the apples sit for a minute or so. This will help all the wax come off, which makes the candy stick to the apple better. The apples will likely look browned and discolored, maybe even have a white residue. This is normal and a good sign! Dry the apples thoroughly and stick the sticks into them, right on top where the stem was.
-
Place the apples in the fridge to chill while you prepare the candy.
-
Add the water, sugar, and corn syrup to a medium-sized, heavy-bottomed pot. Leave over medium heat until the sugar is dissolved and then stir in your gel food coloring. If you want the color to appear more opaque, add white gel food coloring to the color you want the apples to be. If you would like to add an oil flavoring, add it now. 3-4 drops will be sufficient.
-
Add a candy thermometer to the pot, ensuring it’s submerged in the candy but not touching the bottom. Let the candy cook until it reaches 300 degrees Fahrenheit. This will take 10-15 minutes, but once it’s ready, you will have to work quickly.
-
While the candy cooks, prepare your apple station by lining a baking sheet with a Silpat or parchment paper. It’s also a good idea to place some hot pads under the baking sheet, as the candy will heat the baking sheet up after the apples are dipped and placed on it. Remove the apples from the fridge when the candy is nearly 300 degrees and place them on the baking sheet, ready to be dipped.
-
Once the temperature of the candy reaches 300-310 degrees Fahrenheit (the hard-crack stage), turn off the heat and quickly, but carefully, dip the apples in the candy. I found it easiest to tilt the pan to the side and twirl the apple until it was fully coated. Try to twirl the apple slowly otherwise, you will end up with bubbles in your candy and on your apples.
-
Let the dipped apples sit until fully cooled and the candy has hardened.
Calories: 374kcalCarbohydrates: 98gProtein: 0.5gFat: 1gSaturated Fat: 0.1gPolyunsaturated Fat: 0.1gMonounsaturated Fat: 0.01gSodium: 14mgPotassium: 196mgFiber: 4gSugar: 92gVitamin A: 98IUVitamin C: 8mgCalcium: 14mgIron: 0.2mg
Nutrition information is automatically calculated, so should only be used as an approximation.


